Once you've added your orders, it's time to turn them into optimized routes.

Scroll through your orders on the left and check the details. We'll highlight problem addresses so you can fix them.
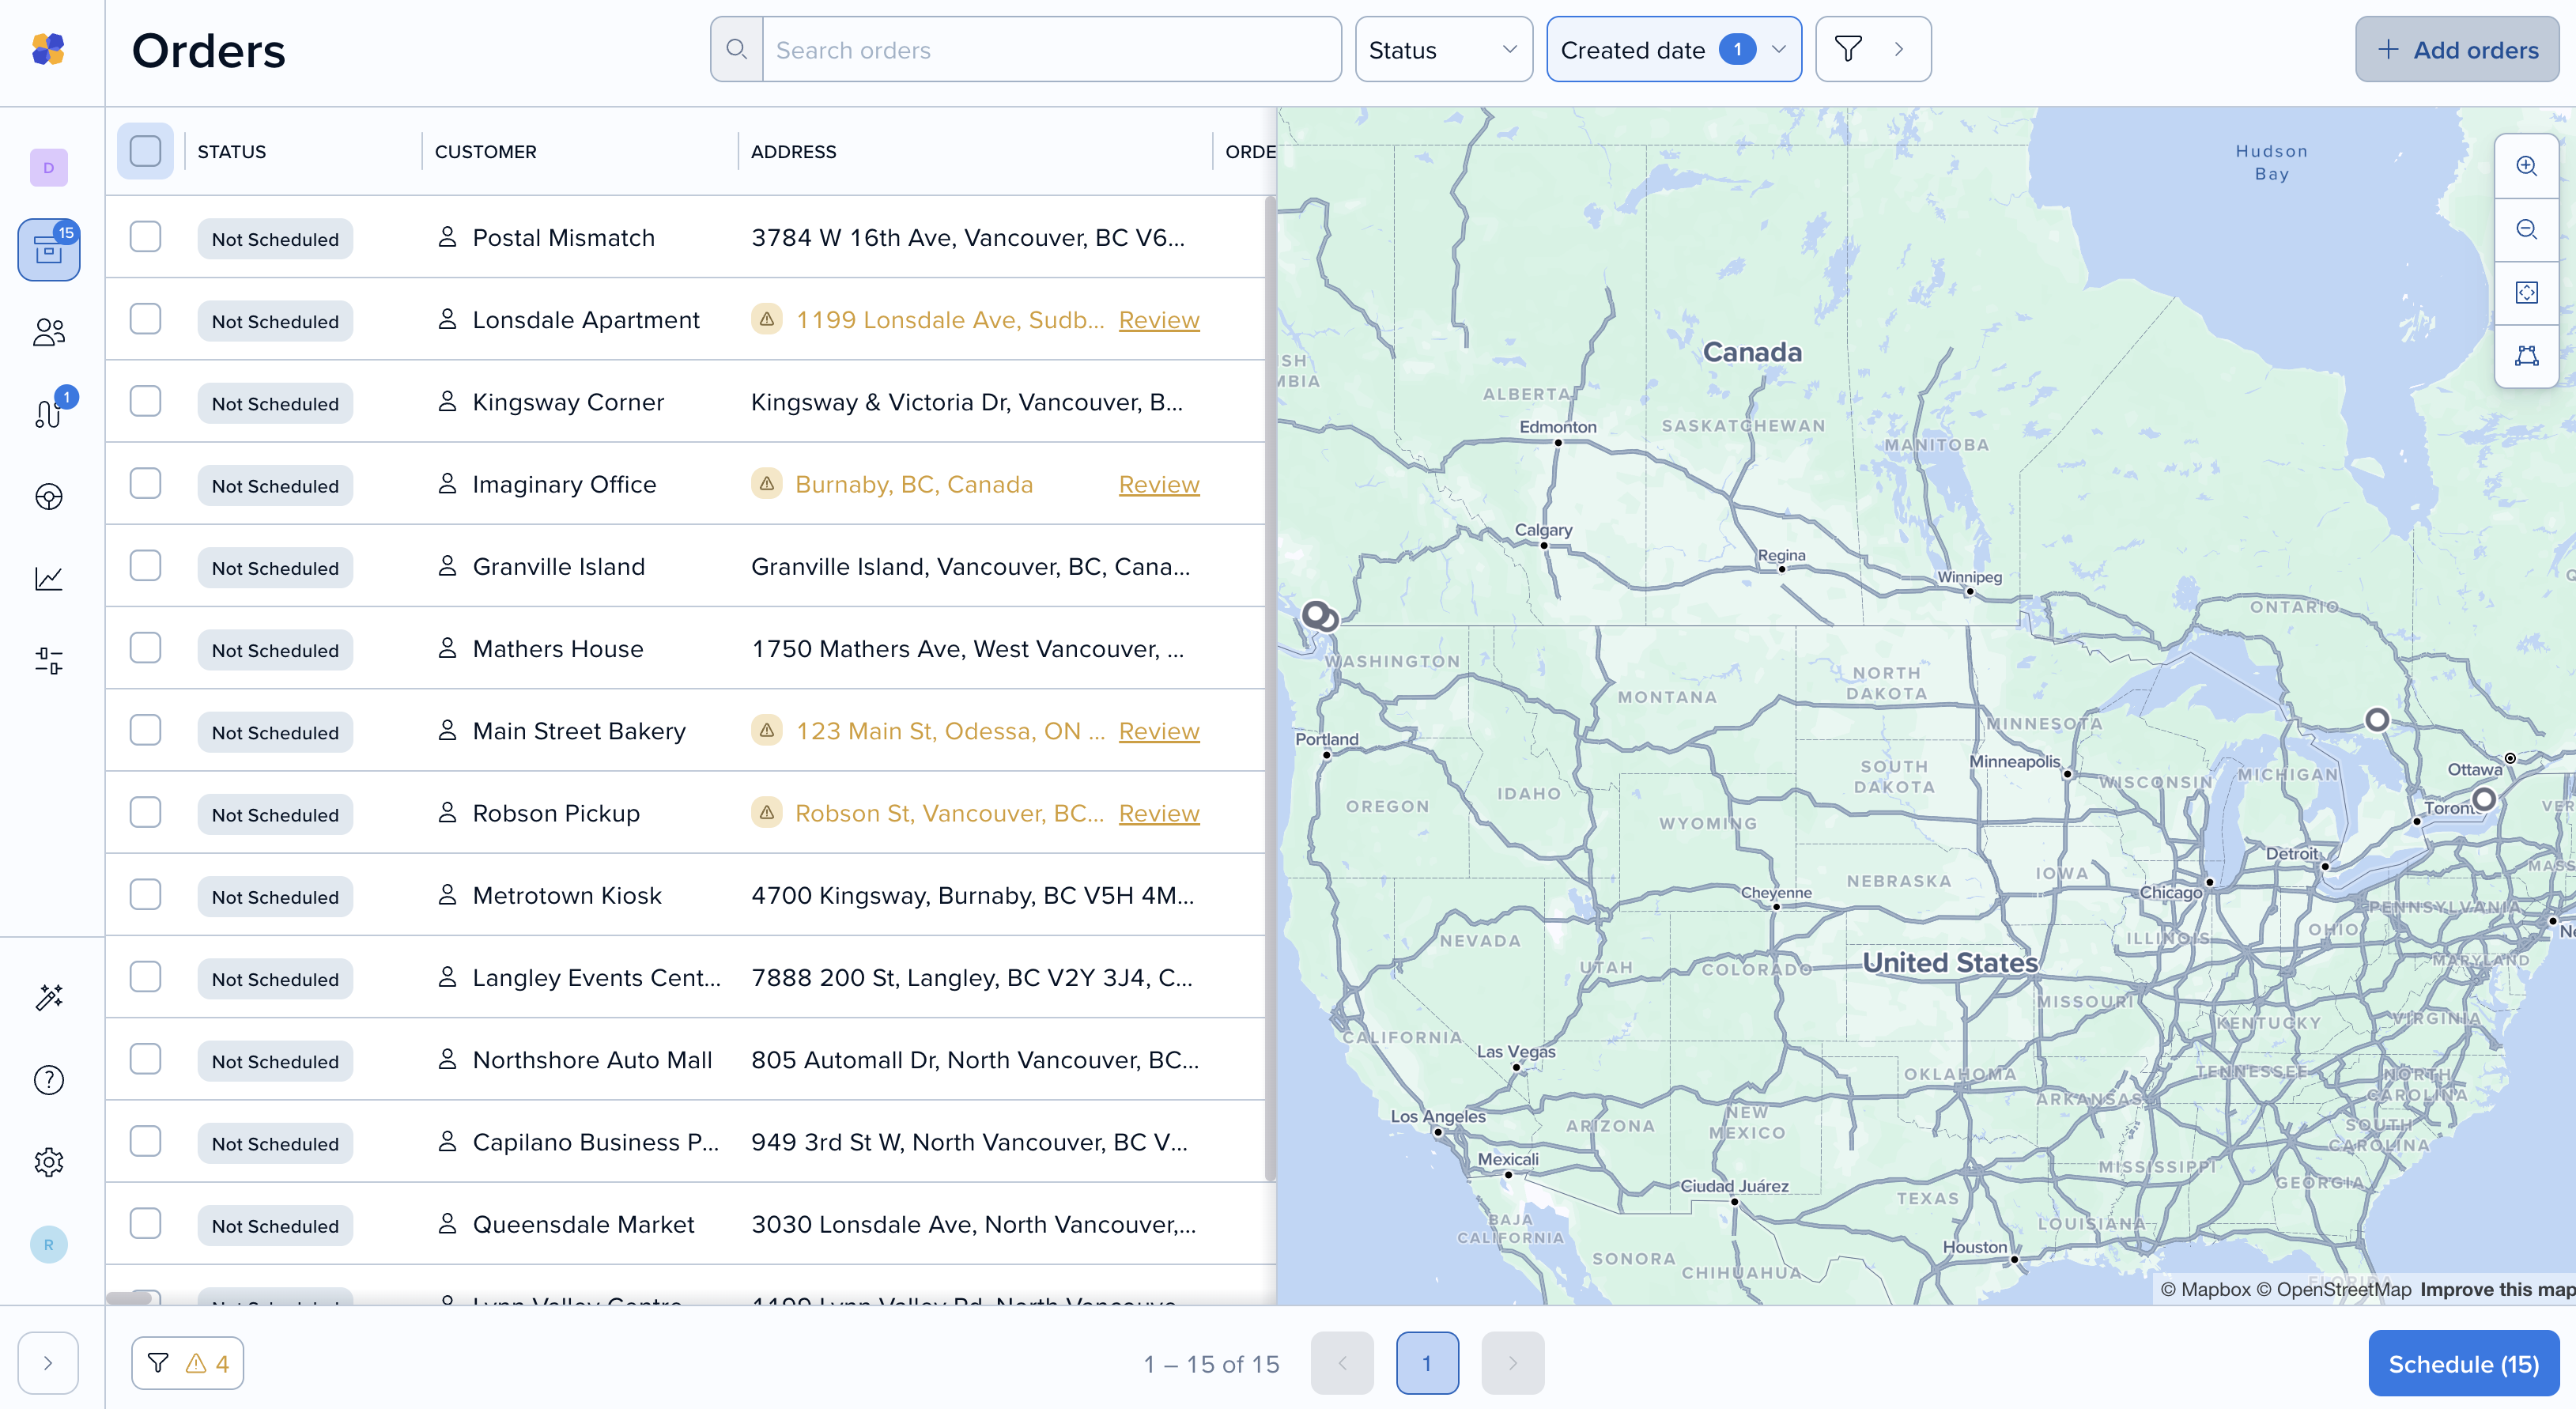
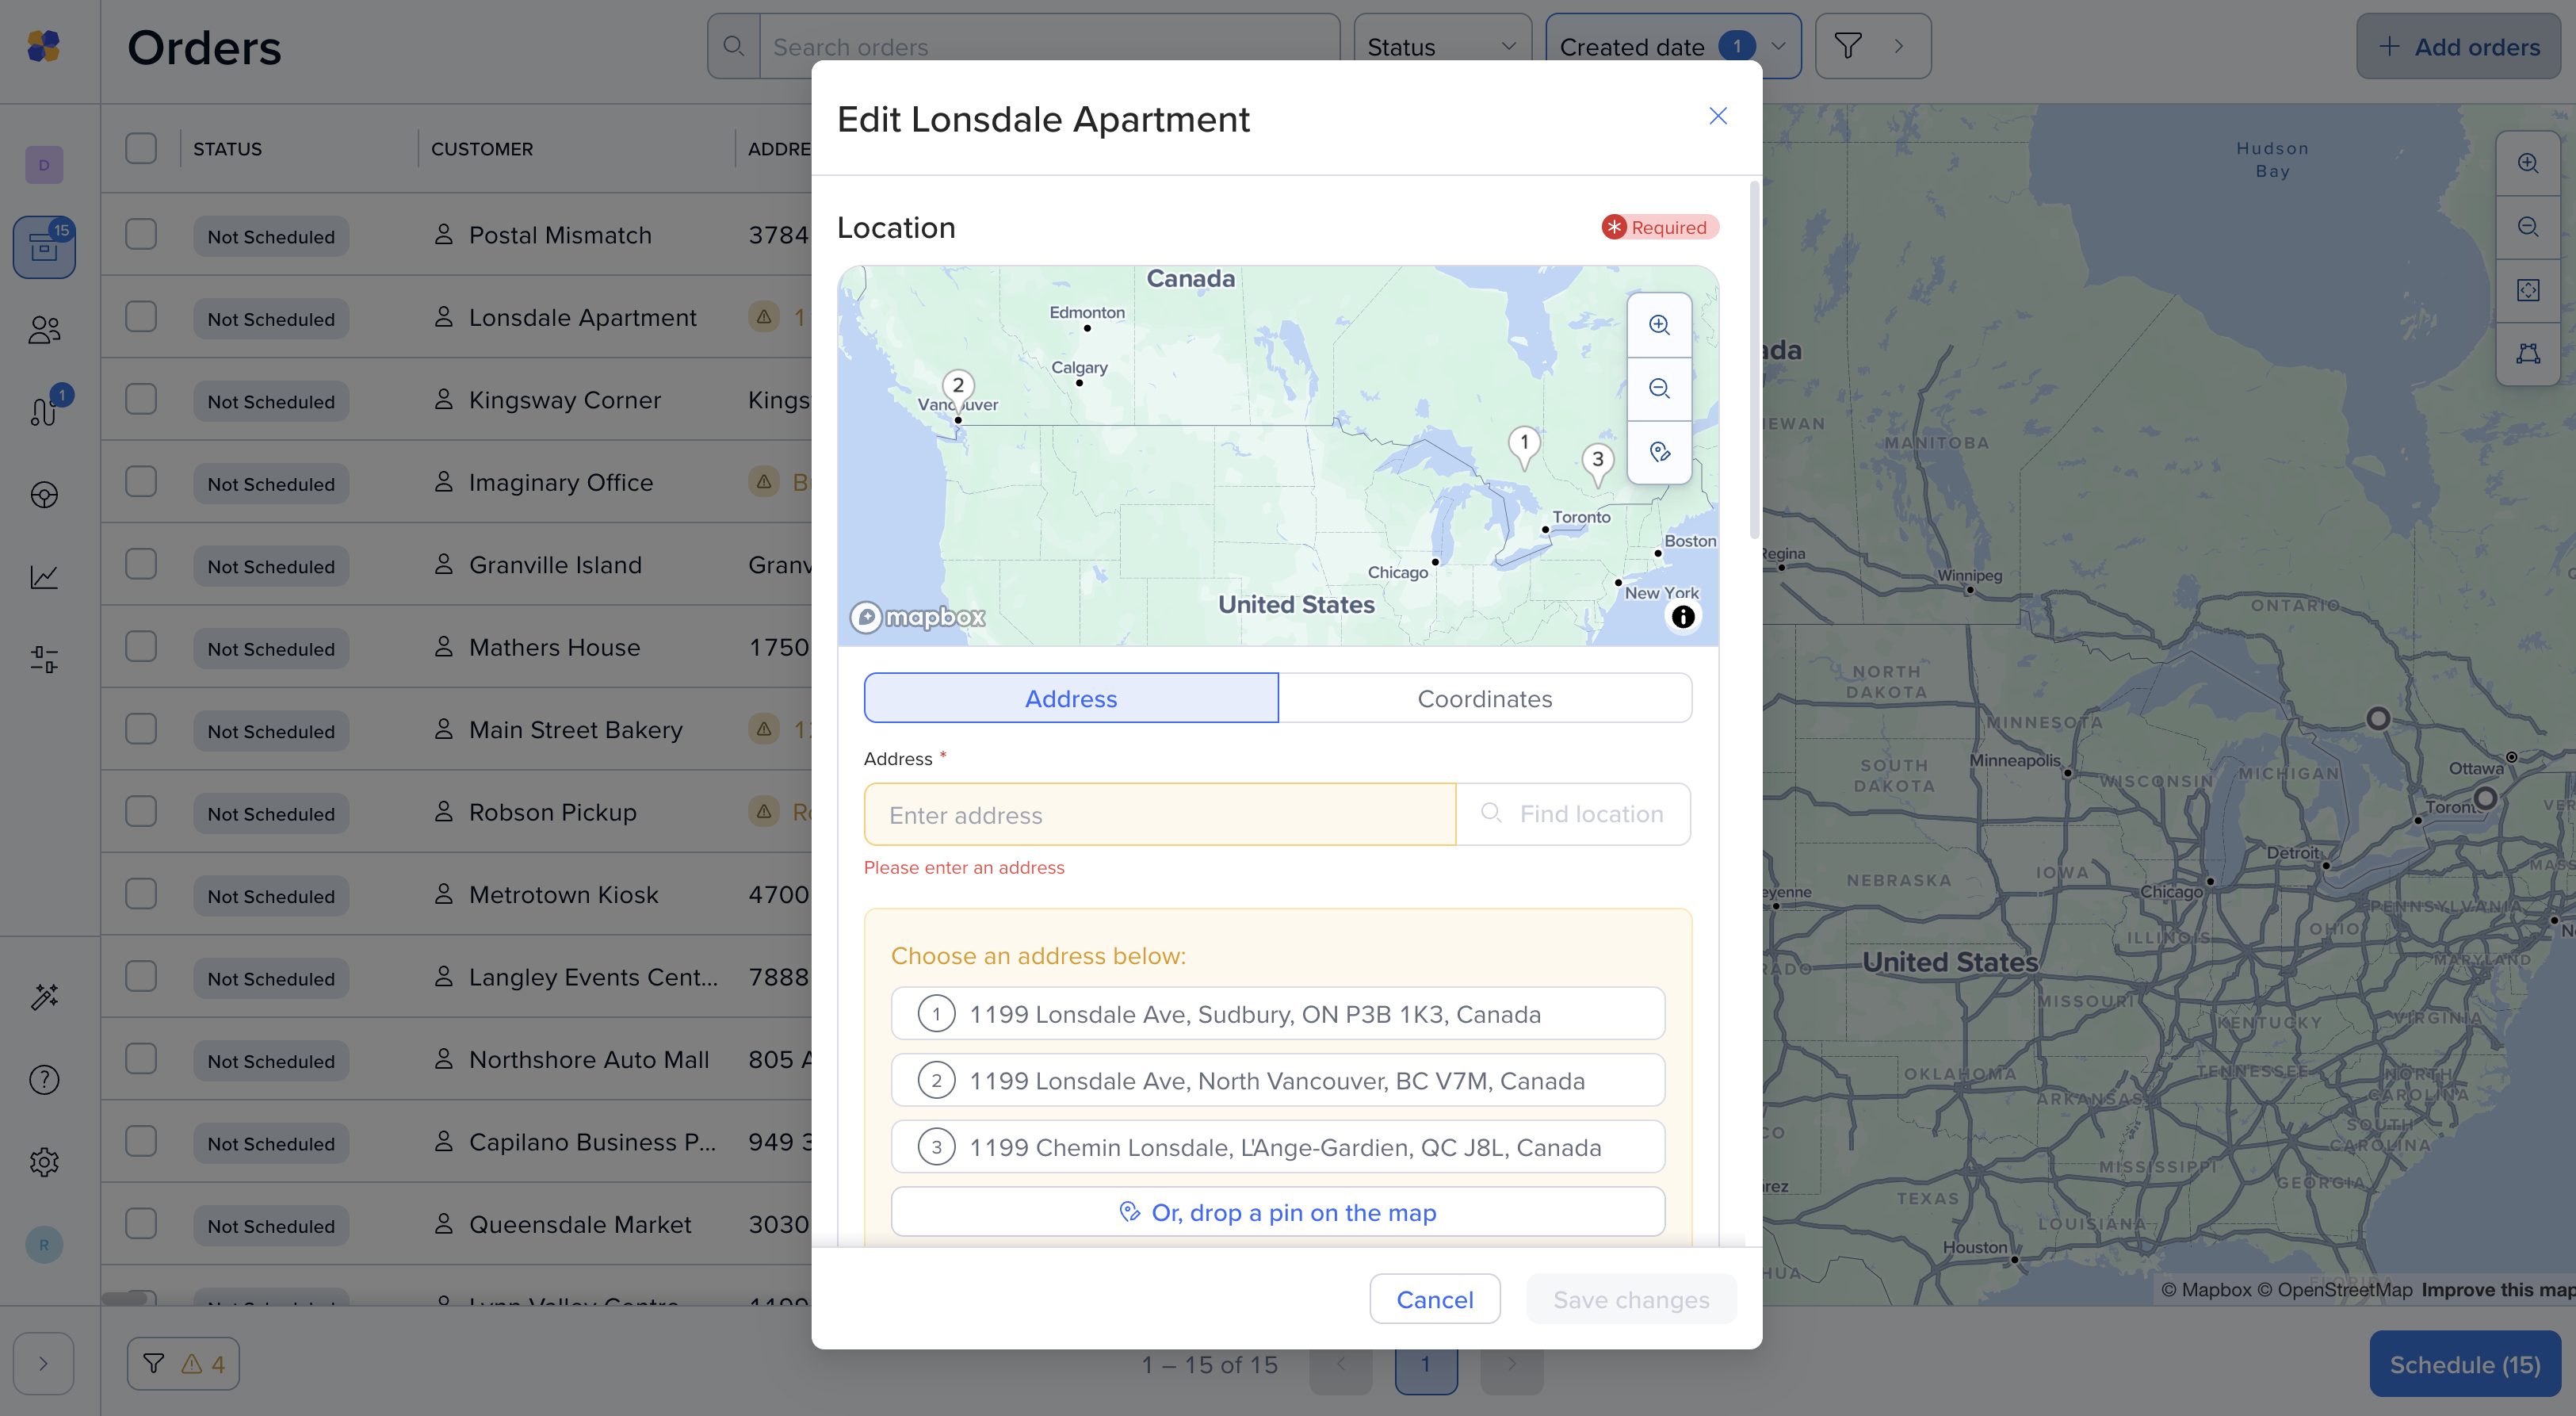
Click Review to see the address options Routific found. Pick the correct one, or pin the correct location on the map, then click Save changes.
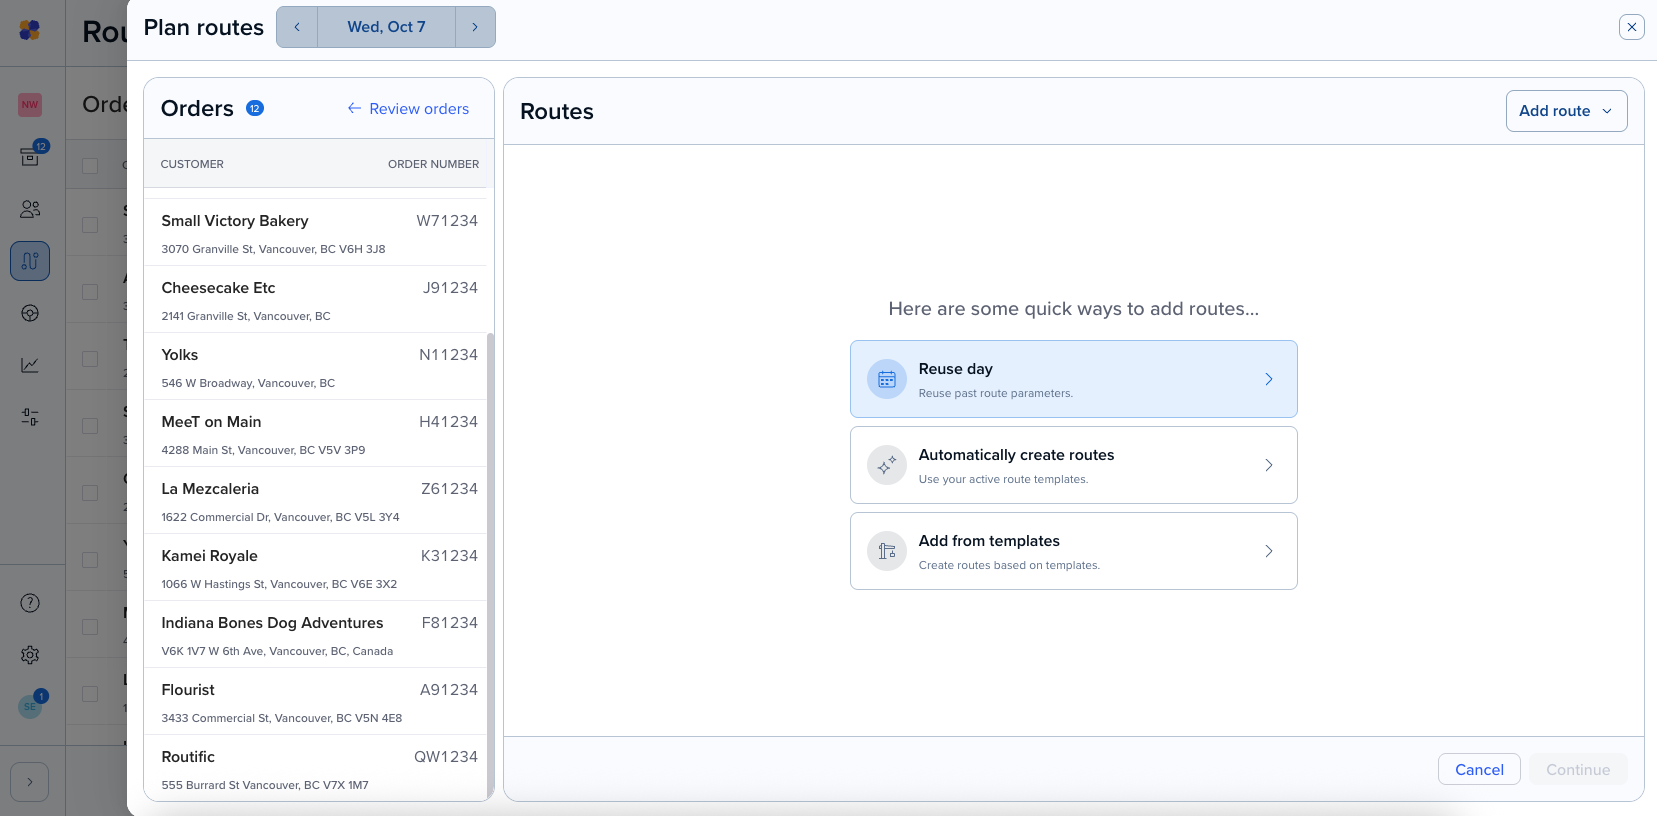
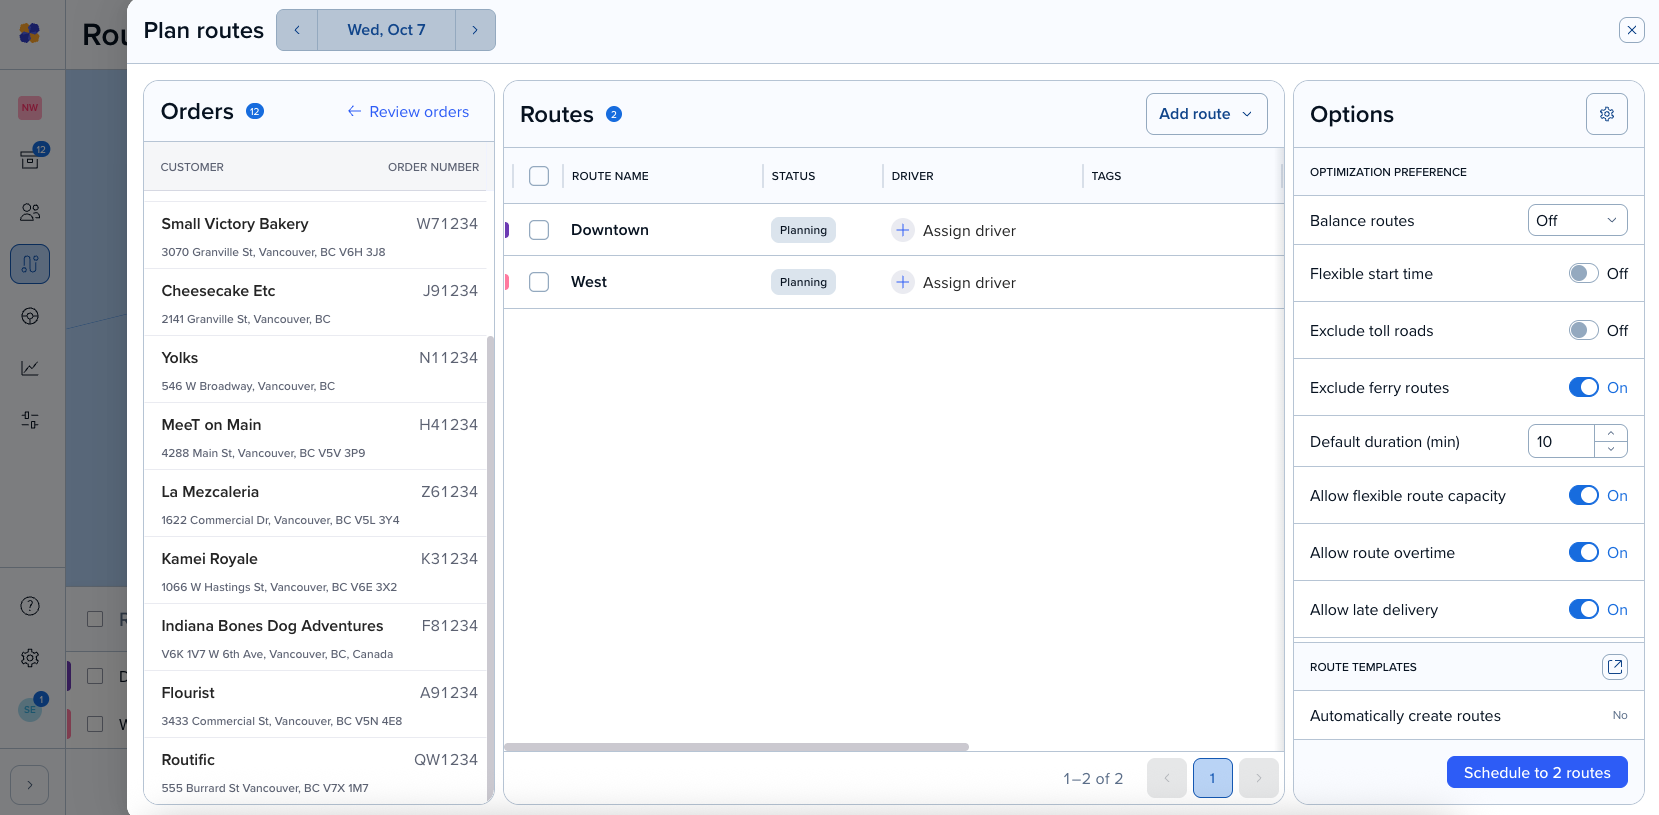
To the right of your orders, you'll see two options: reuse routes from a past date, or let Routific create routes for you.
To use the same route structure as a previous day, pick that date from the calendar and click Reuse routes.
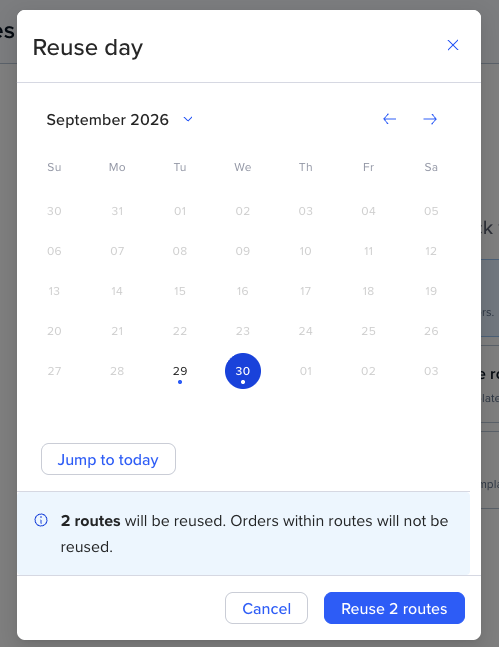
Those routes are added empty, ready for orders. Drivers who were assigned on that date stay assigned to the same routes. You can assign drivers now or later. Learn more about reusing a day's route setup.
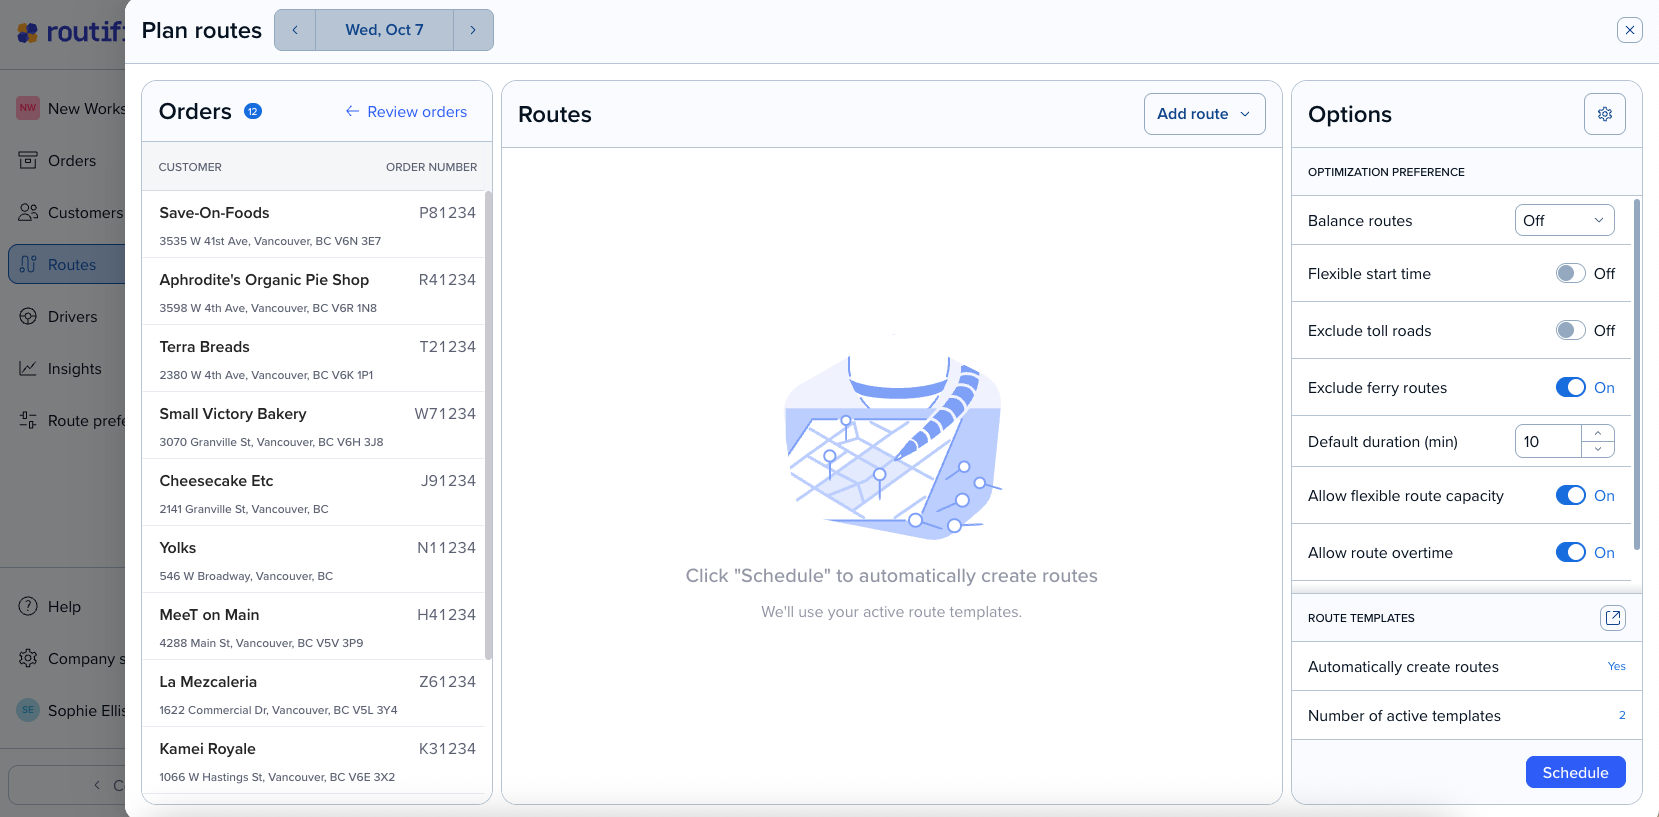
Routific decides how many routes you need based on your orders and the route templates you've selected. No routes appear in the routes section until you schedule.
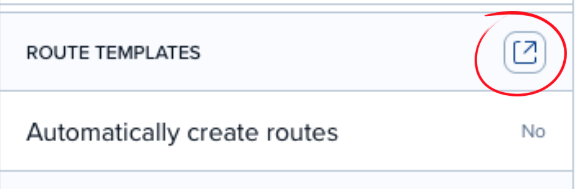
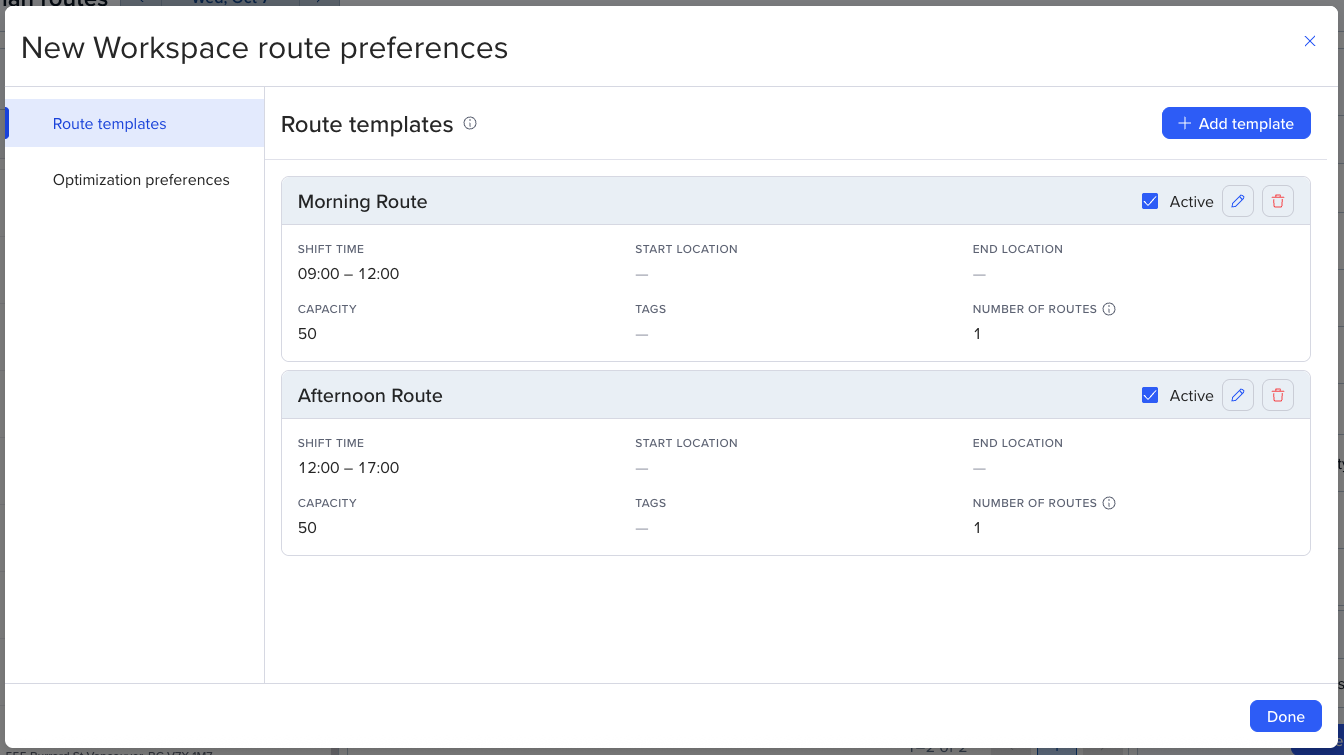
Your selected route templates are in the bottom right. Each one sets shift times, start and end locations, capacity, and, if you want, a fixed number of routes. Set them up once and reuse them every day.
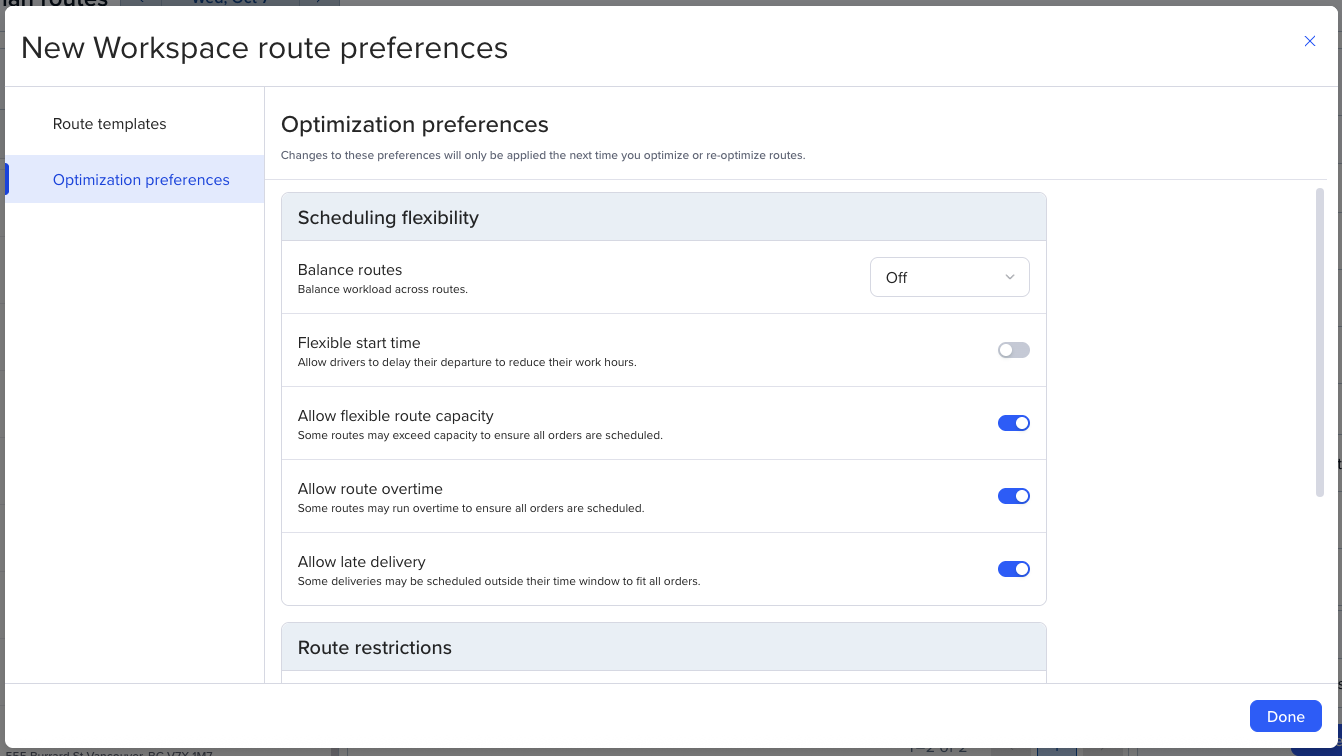
In the top right, toggle your optimization preferences on or off, or click the cog to open the full settings. This is where you decide whether shift times, capacities, and time windows are strict or can bend a little.
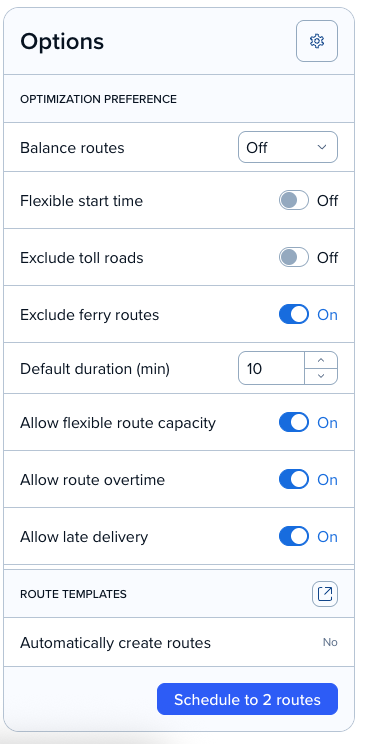
Once everything looks good, click Schedule.
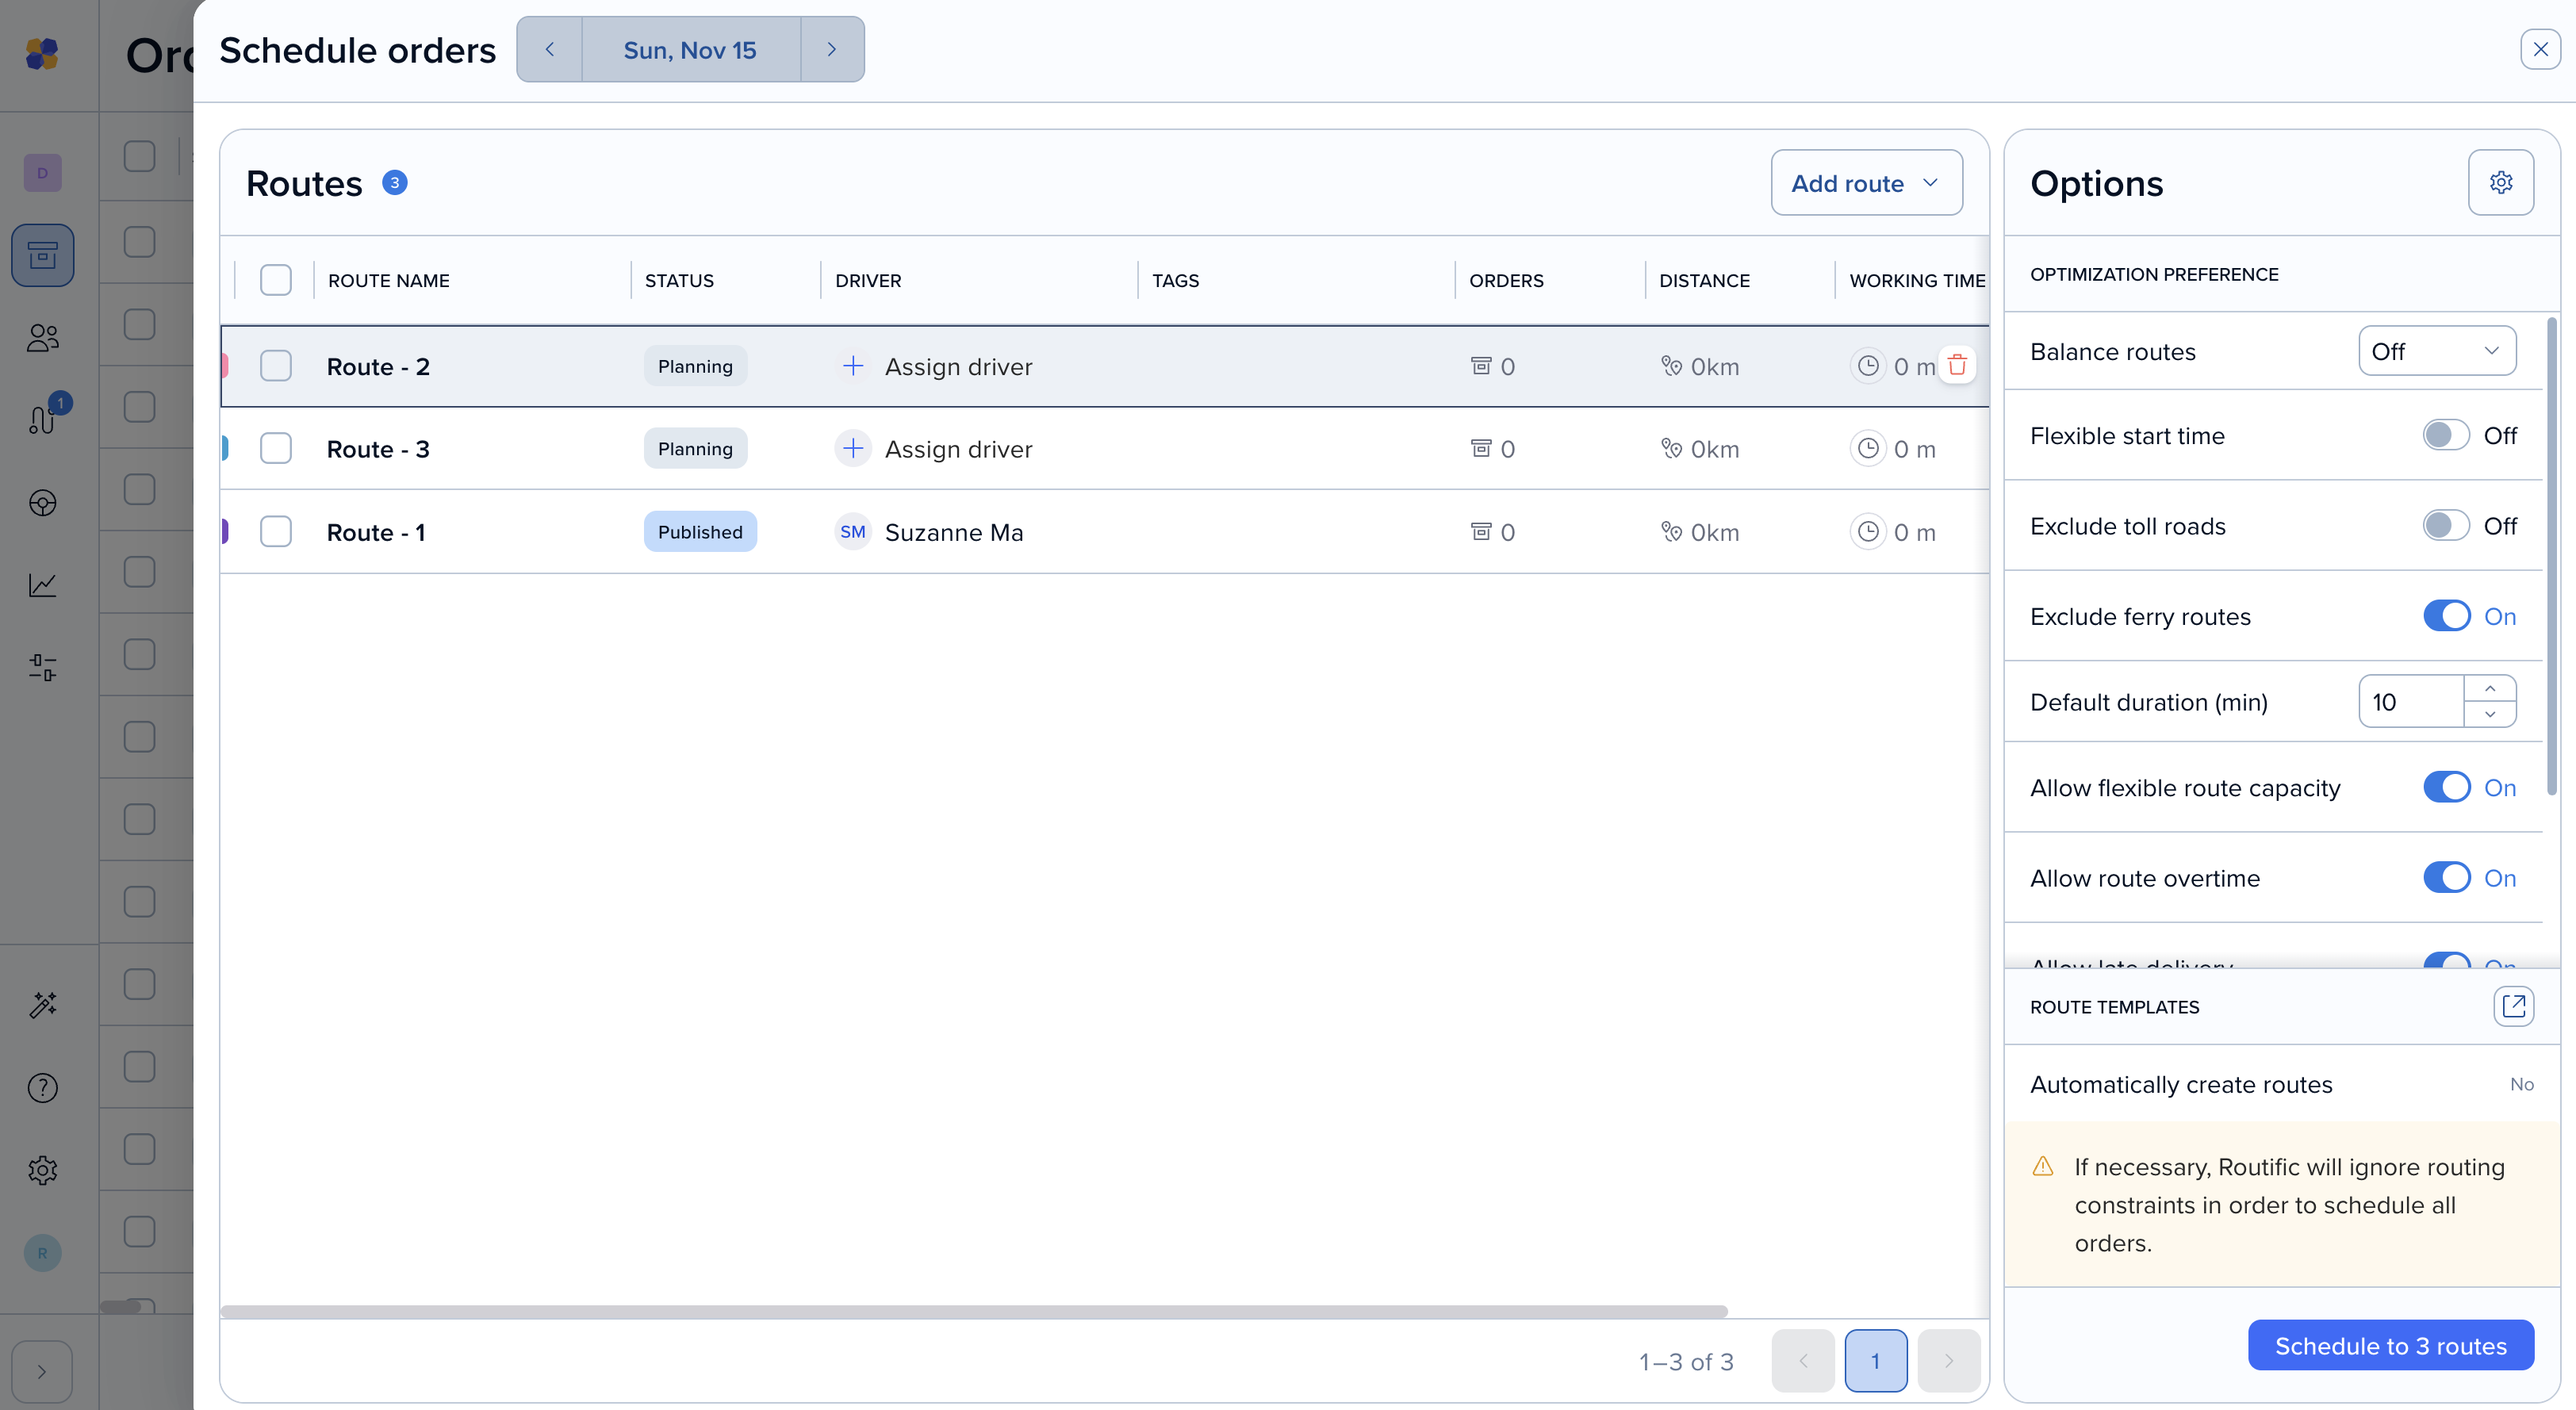
In a few seconds, your routes are optimized and a message in the bottom right tells you how many orders were scheduled. Your routes now show on the map and the timeline.
Leftover orders stay in your unscheduled list. Usually it's because they don't fit within the limits you've set:
Not enough time: the shift ends before the driver can reach them. Extend the shift in your route template, or add a route.
Not enough room: routes are at capacity. Raise the capacity, or add a route.
Time windows can't be met: check the order's time window, or let deliveries run a little late in your optimization preferences.
Address problems: fix any orders still marked Review.
Then click Schedule again.
Next: make changes to your routes.