If you often plan routes with similar characteristics, you can save them as templates so you don't need to enter the same information every time. You can use Route templates to set up:
Regular shift times
Standard start and end locations
Constraints such as vehicle load capacity or the number of orders per route.
A maximum number of routes per template.
Any template can be saved once and then applied to future routes.
When you plan your first route or open a new Workspace, this screen will pop up to help you set up your first Route Template:
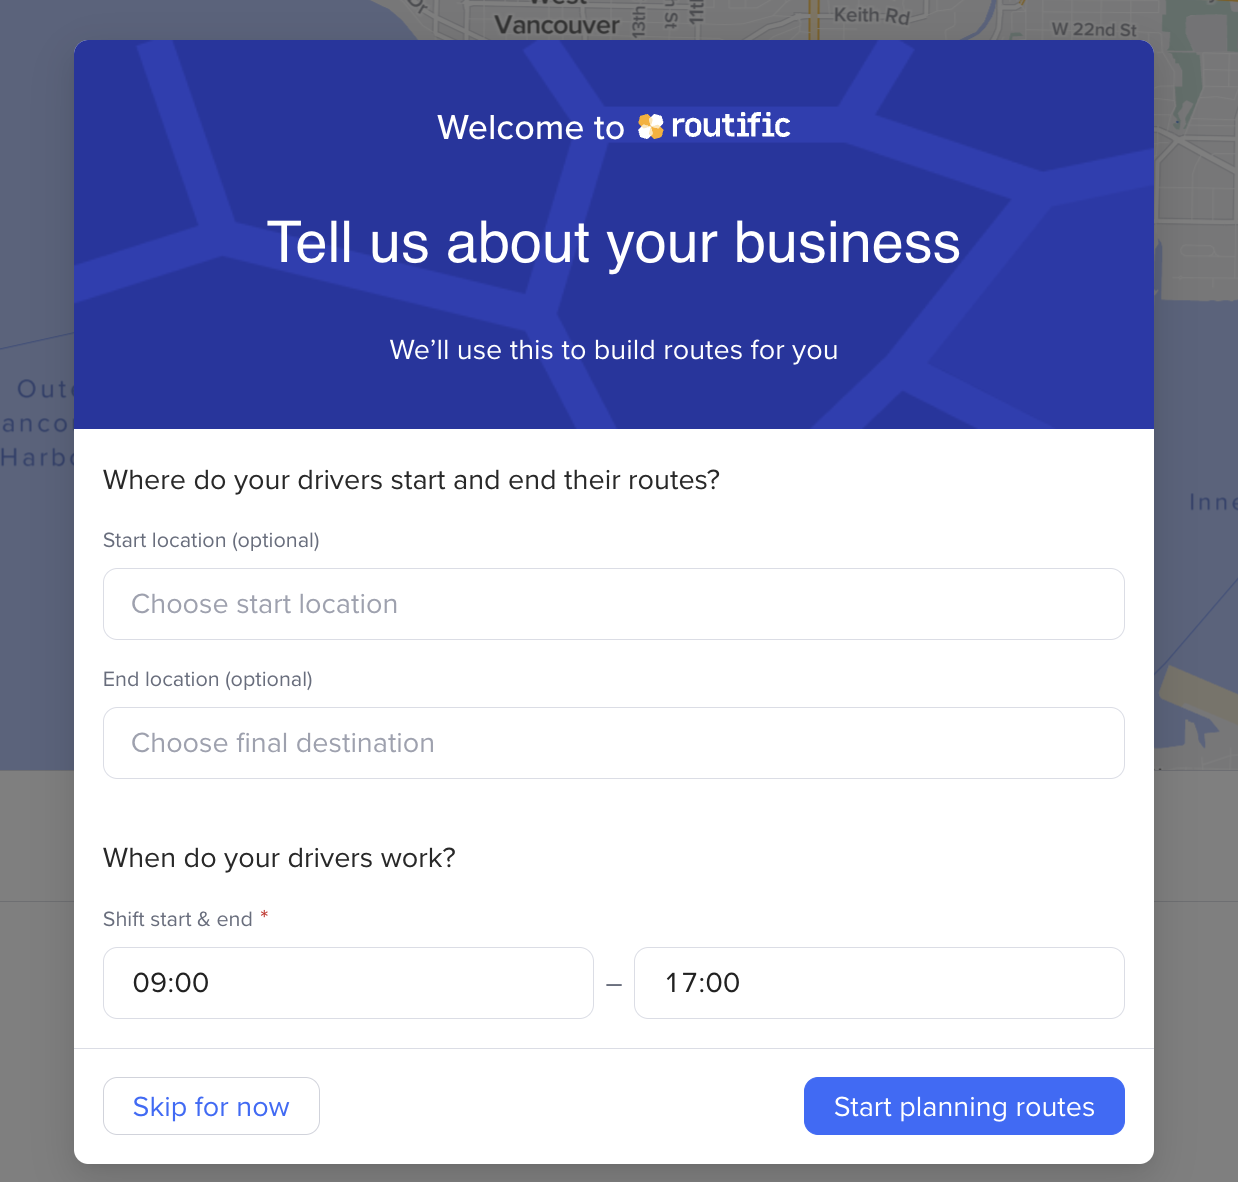
You can enter your information into the fields and click Start planning routes, or click Skip for now.
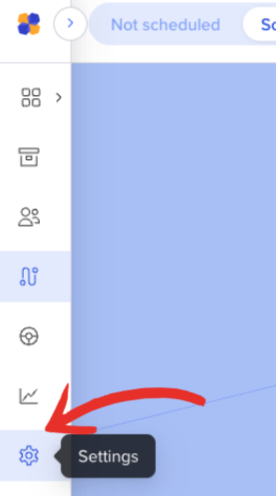
You can create, edit, or delete Route Templates whenever you like. Click the gear icon at the left-hand side of your screen.
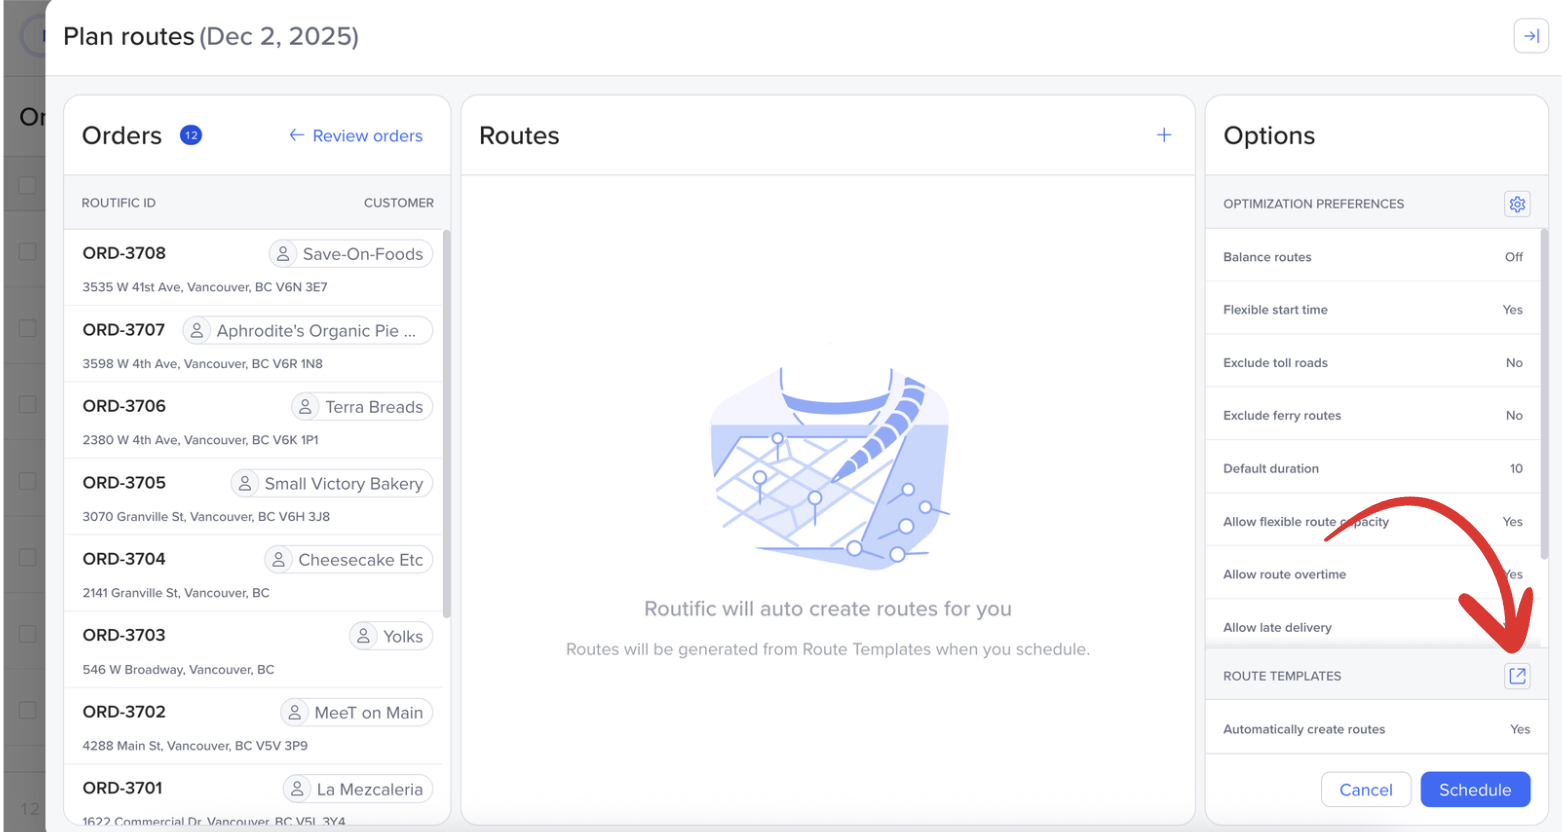
When you’re planning routes, you’ll be given an option to use route templates or re-use a previous day’s routes.
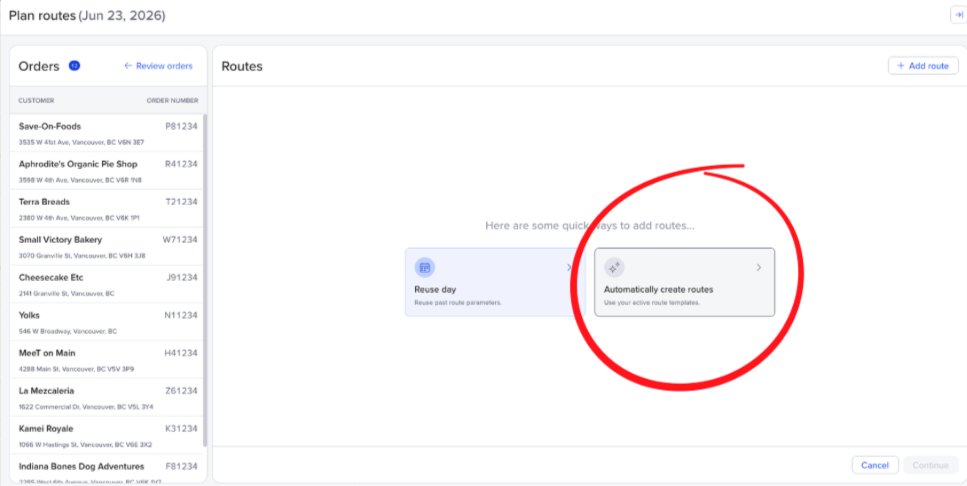
Click Automatically create routes
If you’ve already created your templates, click Schedule.
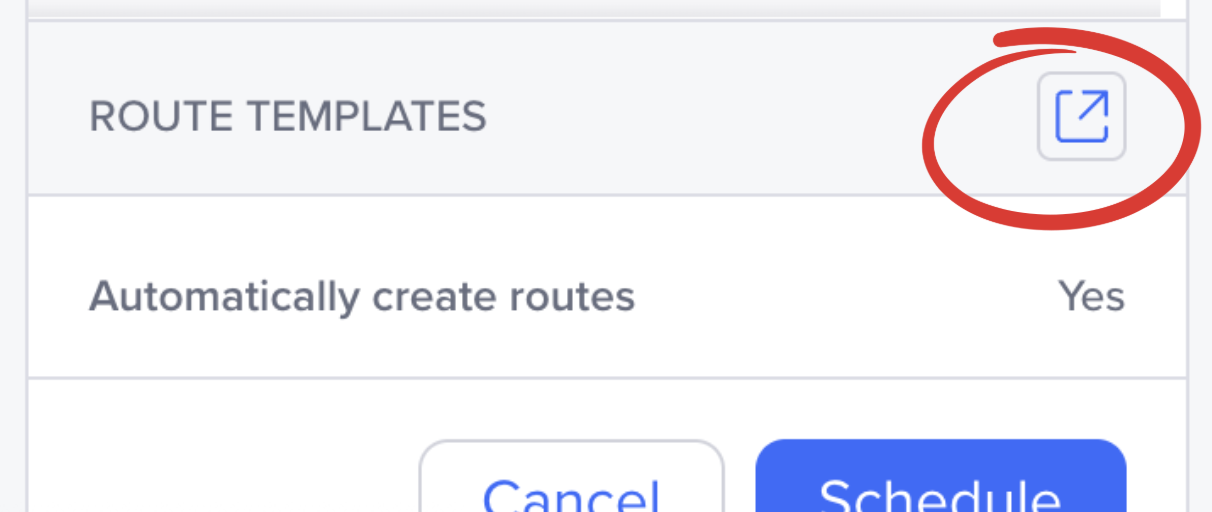
If you need to configure your route templates, go to the bottom right-hand corner of the screen. Click the square icon with the arrow to access your route templates settings.
Here is where you can see your active templates, edit existing templates and create new ones.
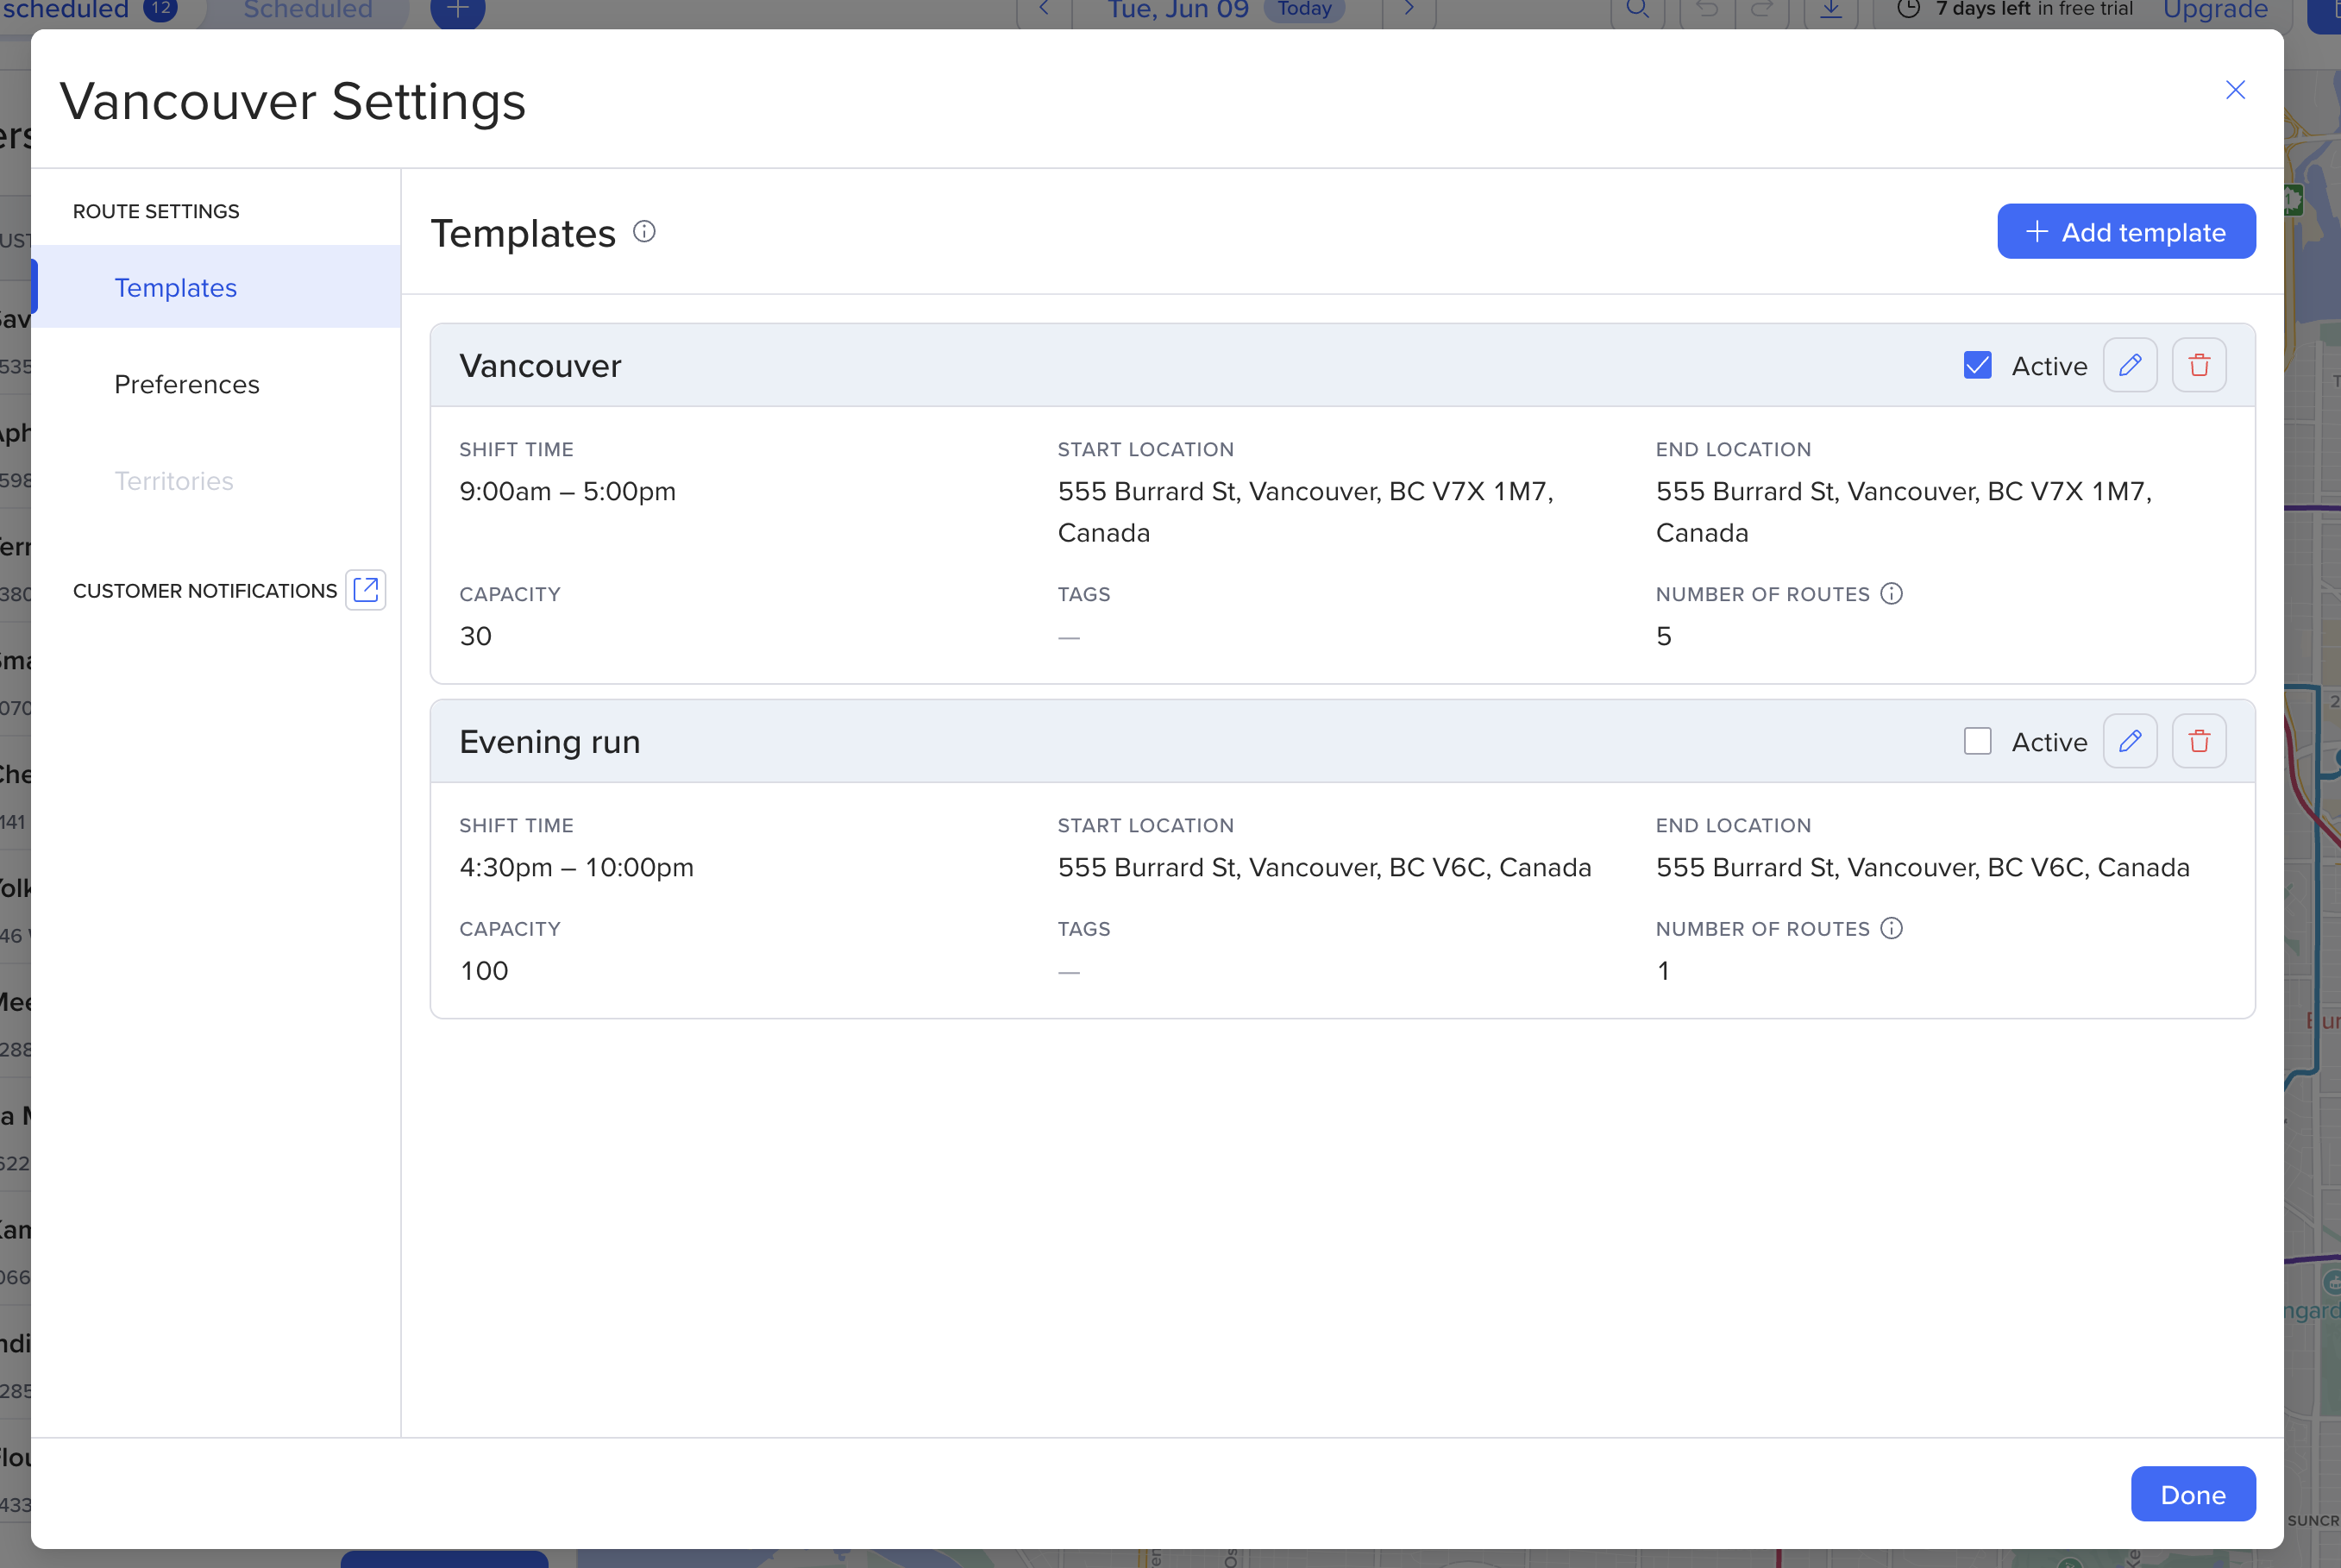
Shift time: Use these two fields to set up the start and end times of your route shifts.
Start and end locations: Use these fields to set up your depots or other default start and end points.
Route capacity: Route capacity is often used to set the maximum number of units a vehicle can carry. This field can also be used in other ways, depending on your business needs. Read more about Loads and Capacities here.
Number of routes: If you require a specific number of routes built with a template’s attributes, put the number of routes needed in the Routes column. If this column is left blank, Routific will automatically calculate the most efficient number of routes for this template to serve your orders. This is a great feature to use if you have fluctuating volumes day to day and want to be as efficient as possible with your driver resources.
Click the checkbox next to Active and click Done to save.
*Please note that editing templates will not adjust any current scheduled routes. It will, however, affect any new routes to be scheduled.
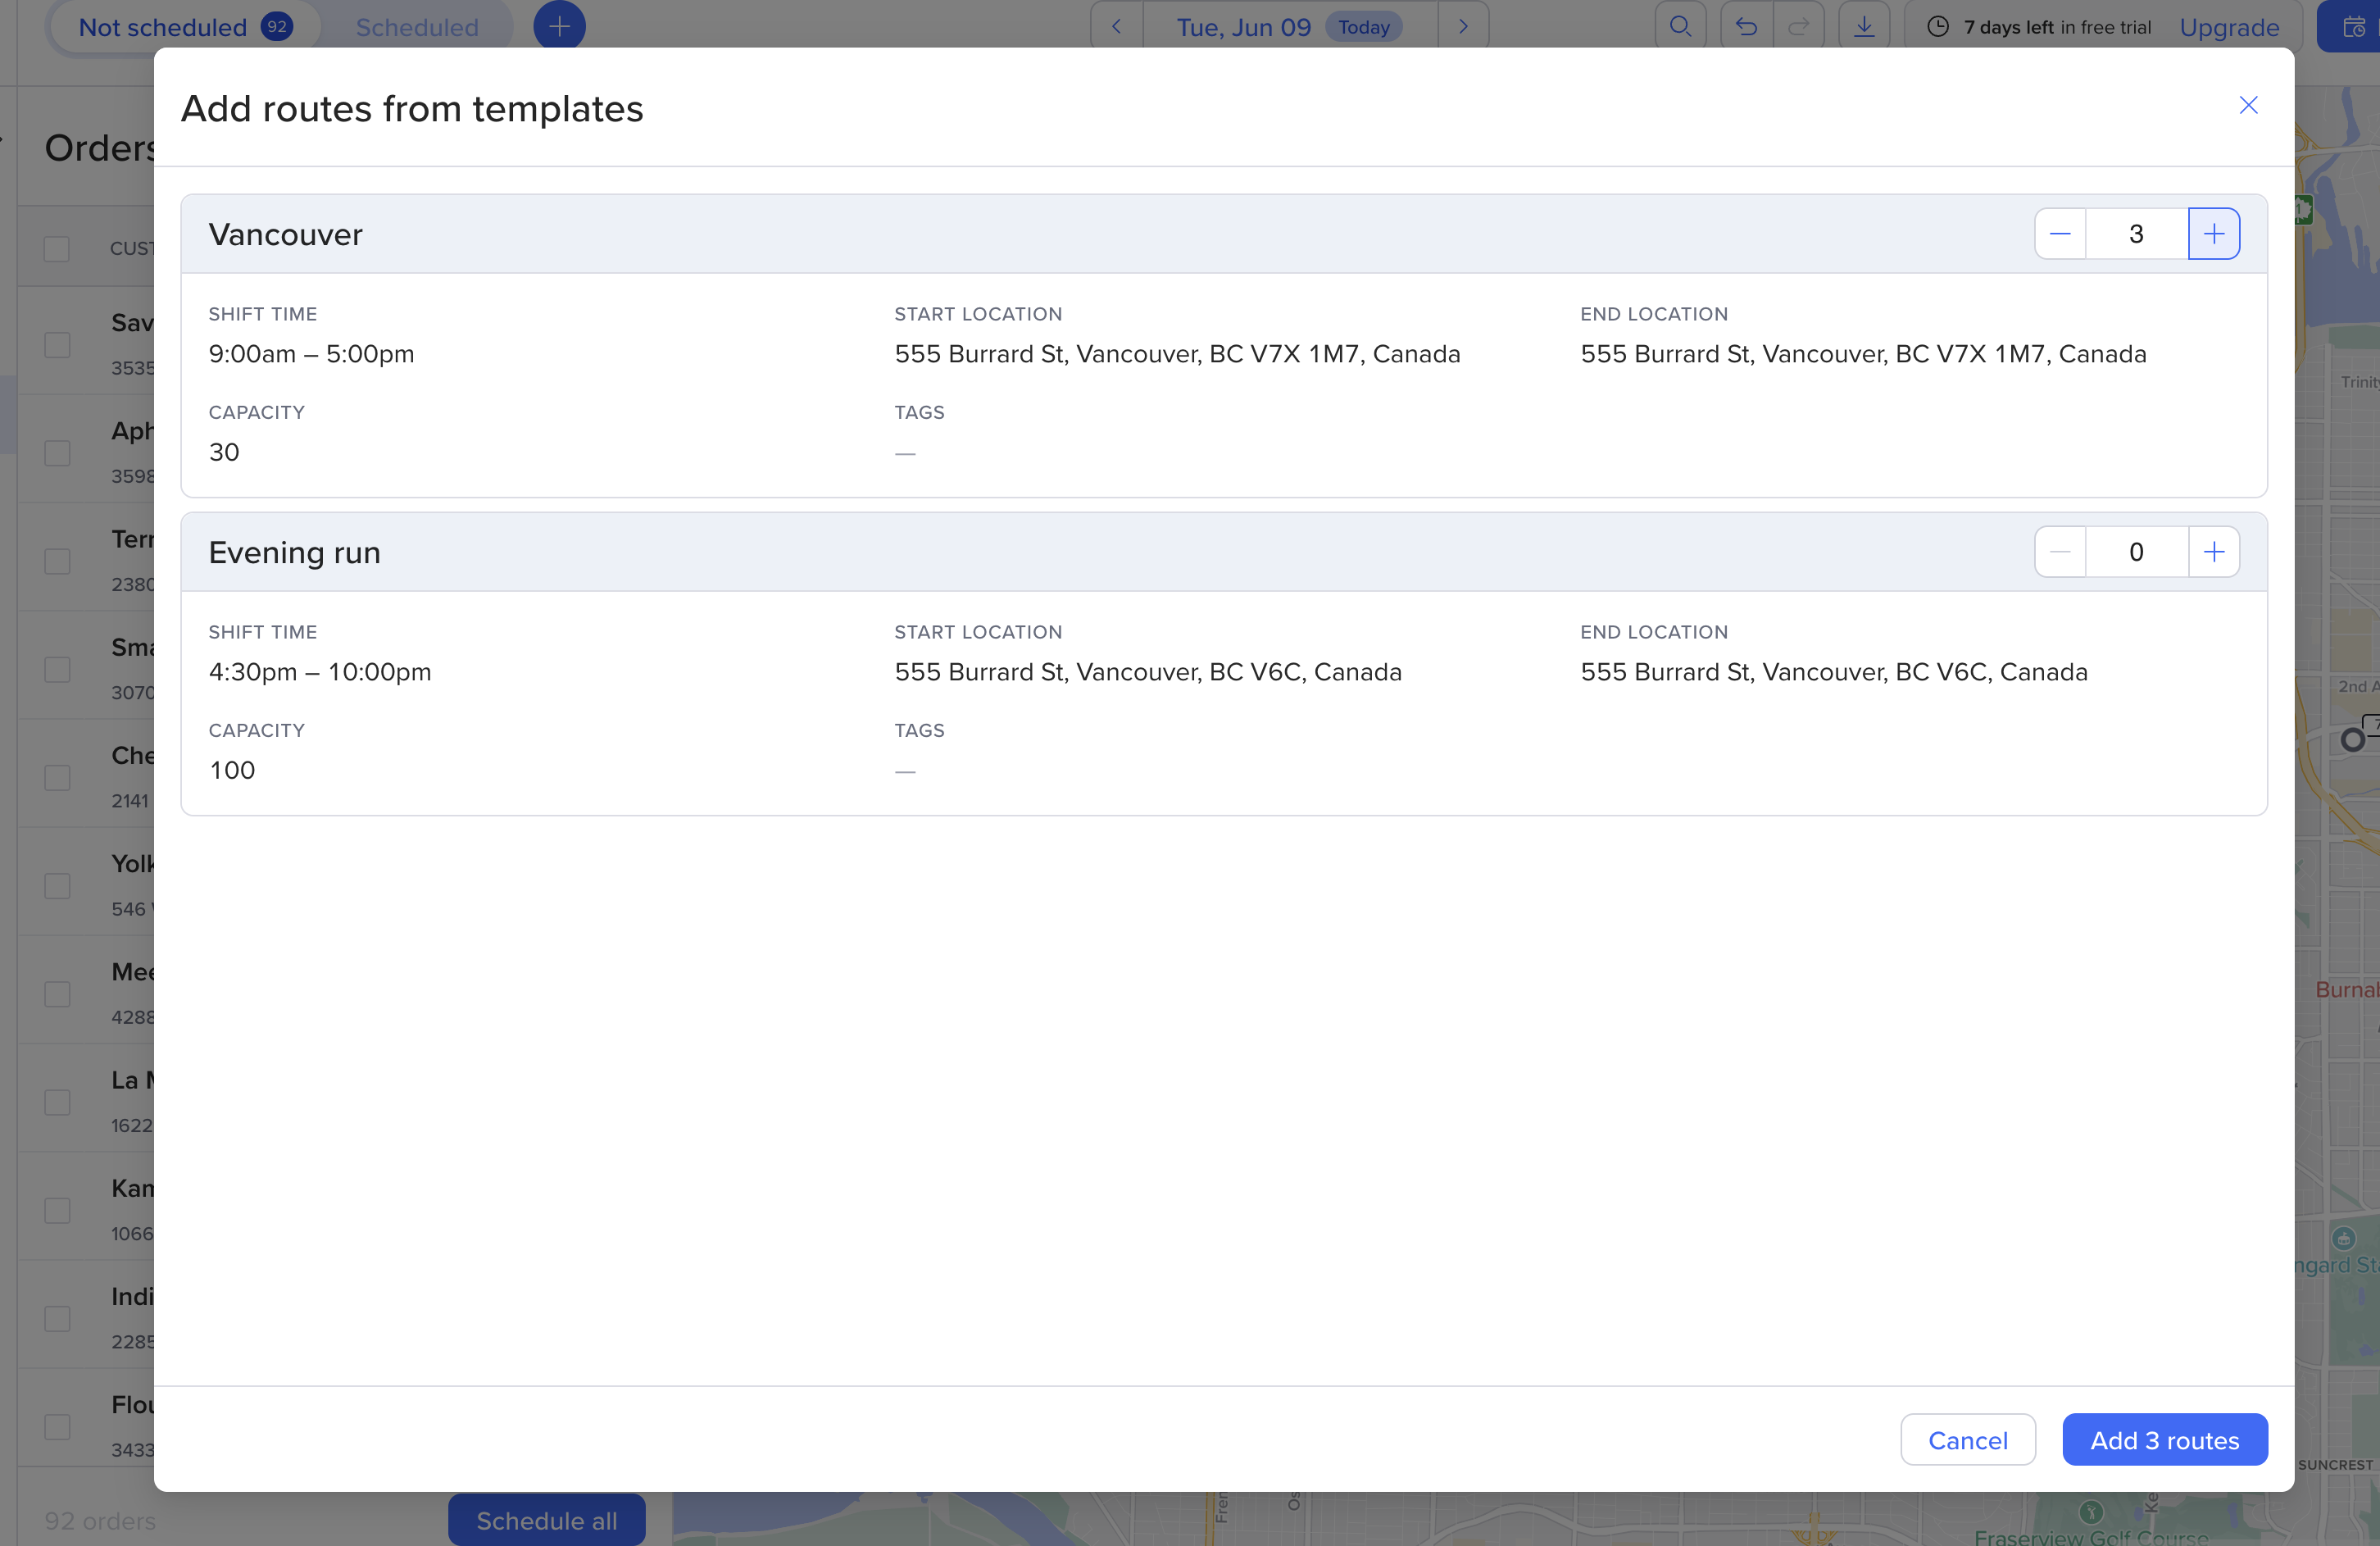
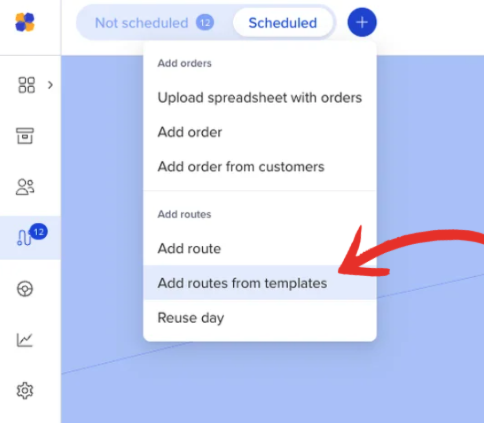
Click the blue plus (+) sign button to the right of the scheduled tray at the top of the page.
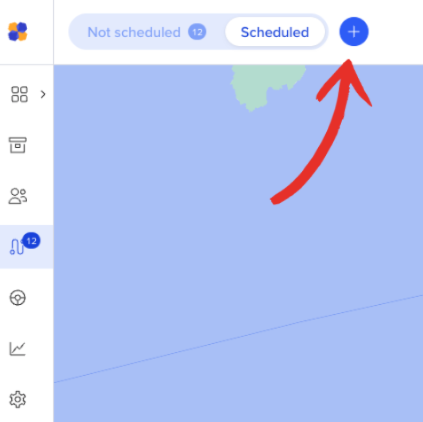
Then choose Add route from template
Choose which routes you want to add by reviewing the templates and indicating how many routes you want by using the plus or minus buttons on the right. Then click Add routes in the bottom right-hand corner.