company logo

Help center

Go to Routific
Still need help? Book a call!
All collectionsDriver management and the Routific mobile appHow to assign/re-assign a route to a driver

How to assign/re-assign a route to a driver

Assign each route to a driver, then publish to send it to their phone

Watch: Inviting drivers, assigning and publishing routes

Once you've planned your routes and adjusted them to your liking, the last step is getting them to your drivers: assign each route, then publish.

info icon
Before you start, make sure your drivers have been invited and have logged into the Routific mobile app. Otherwise they won't receive their routes.

New to this? Learn how to invite drivers and how drivers accept their invitation.

Assign a route to a driver

Click the + on the left-hand side of the timeline, next to the route name, and pick a driver.

Re-assign a route to another driver

Click the same button (it now shows the driver's initials) and pick a different driver.

โœ… You can assign multiple routes to the same driver.

โŒ You can't assign the same route to multiple drivers.

Publish your routes

Assigning a route doesn't send it anywhere yet. When you're ready, click Publish. A confirmation screen shows you exactly what's about to happen.
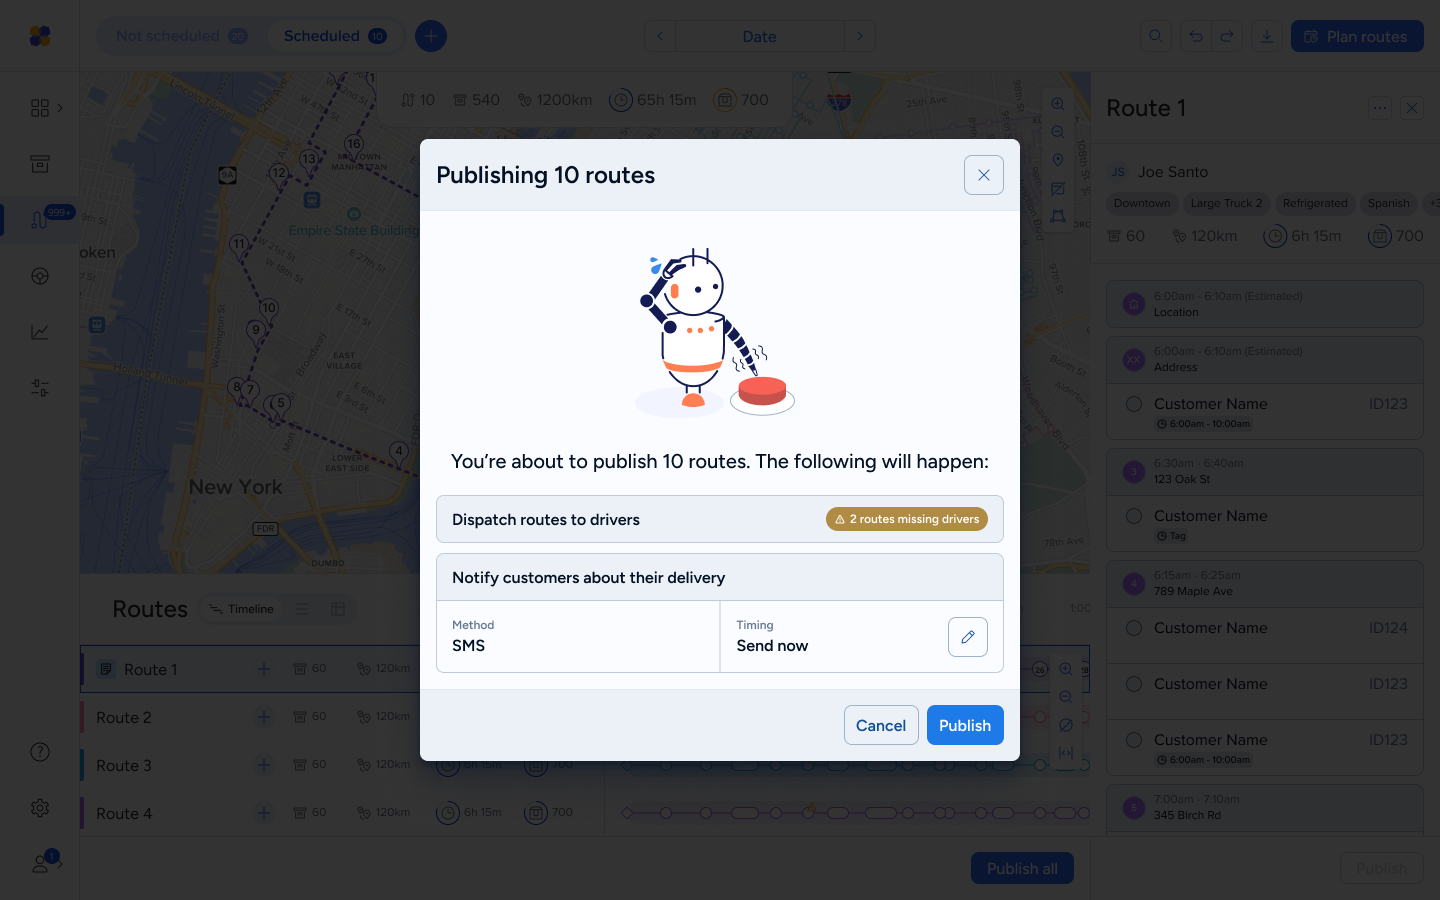
A publishing confirmation modal overlays the Routes planning screen, showing dispatch and customer notification settings before publishing 10 routes. Visible: Publishing 10 routes, Youโ€™re about to publish 10 routes. The following will happen:, Dispatch routes to drivers, 2 routes missing drivers, No

*You can still re-assign a driver after a route is published. Need to pull a route back before it starts? Here's how to unpublish your route.

Did this answer your question?
๐Ÿ˜ž
๐Ÿ˜
๐Ÿ˜