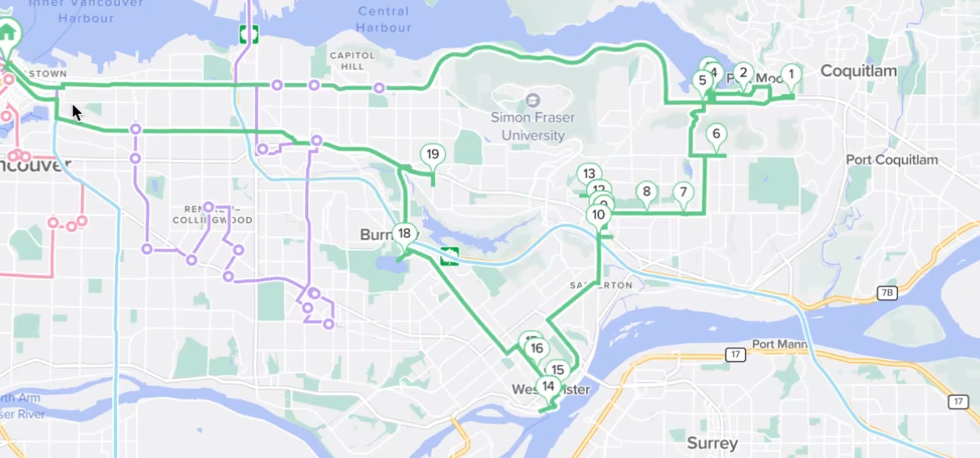
There are four ways to make manual changes to your routes:
On the timeline
In the route details panel
On the map with our lasso tool
Draw your route on the map
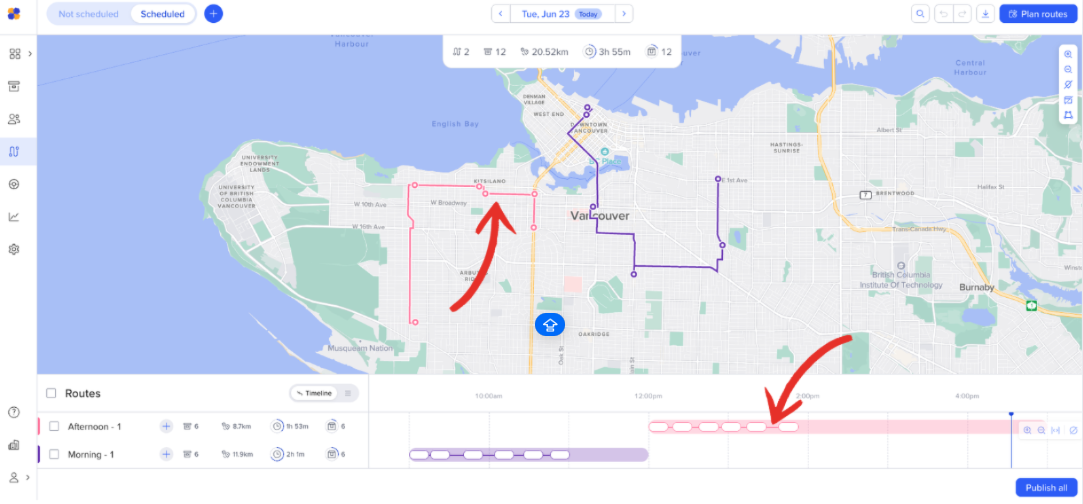
Click on a stop on the timeline, then drag-and-drop to move it. You can drag the stop to another part of the same route or assign it to another route. When you assign a stop to another route, Routific will automatically slot it into the most optimal spot.
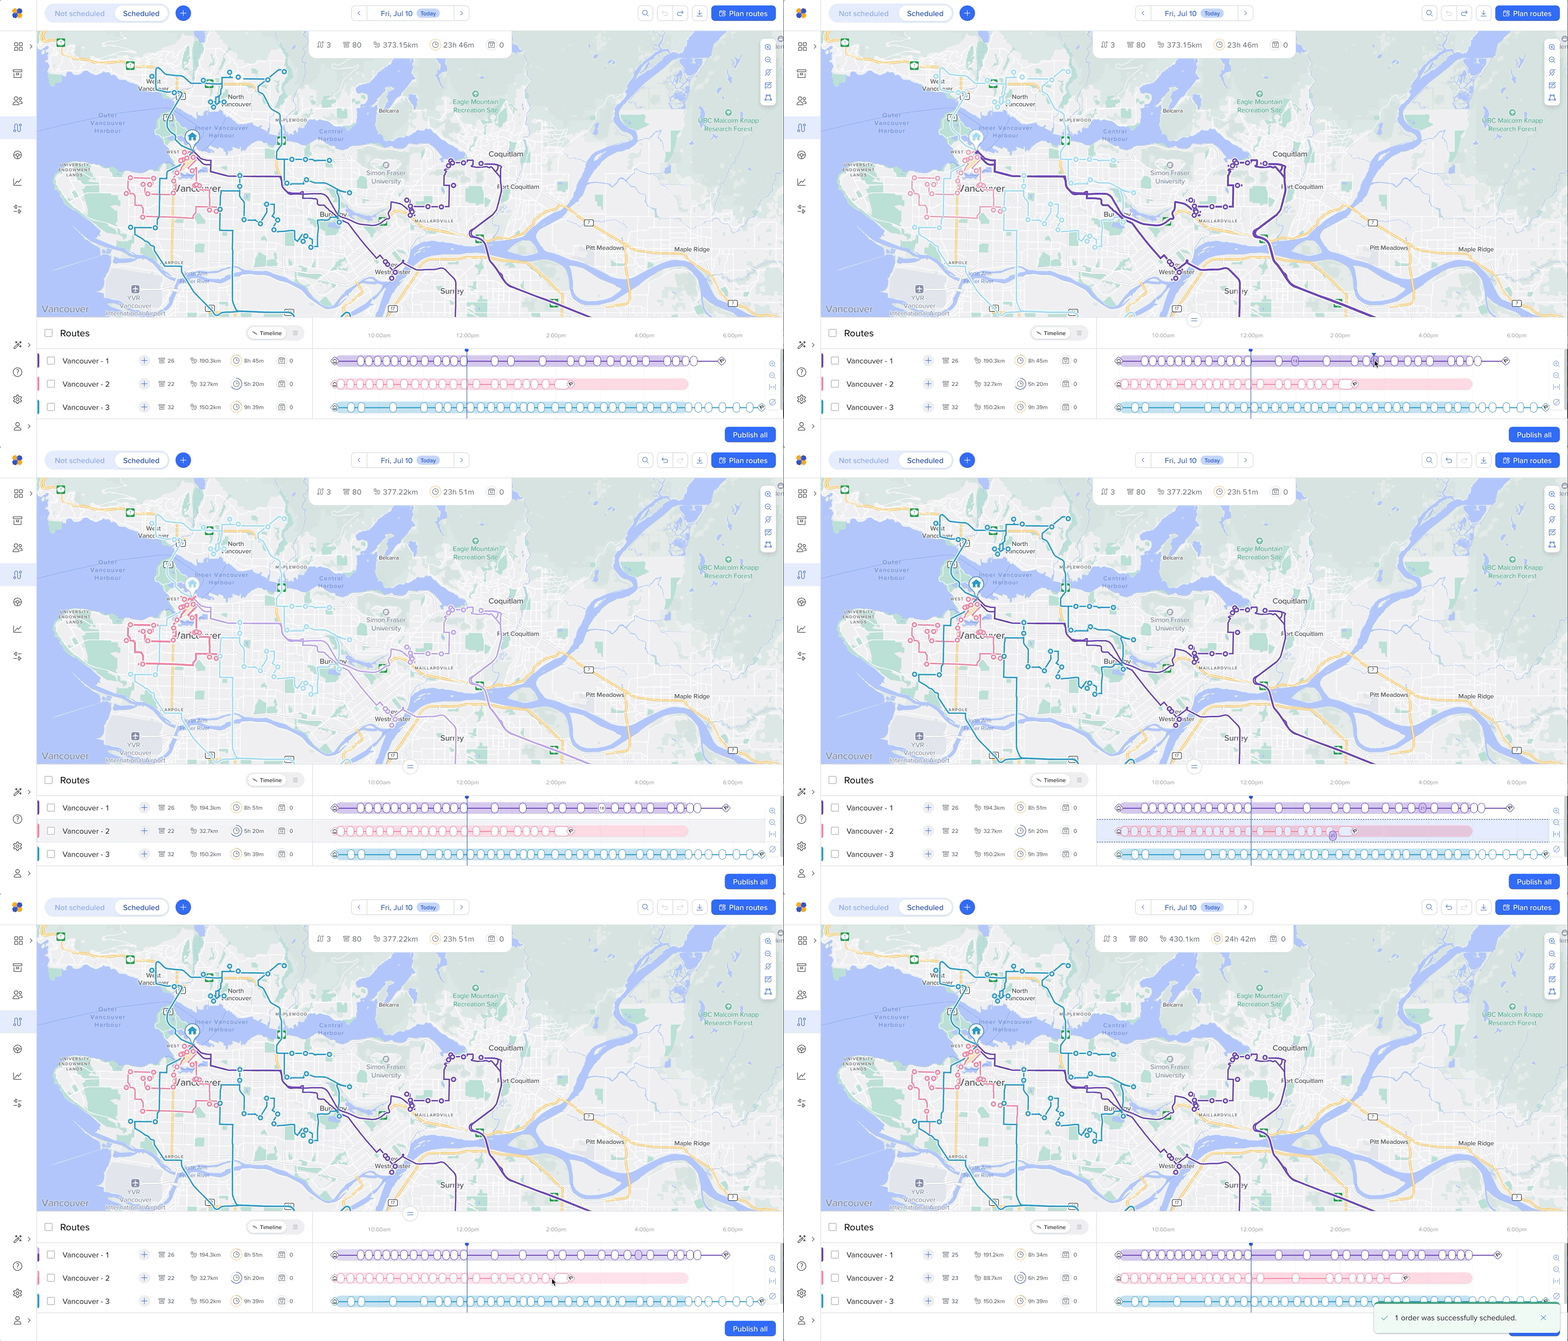
You can also hold SHIFT to select multiple stops on the timeline and move them to another route.
Click on a route either on the map or the timeline to reveal the route details panel. The panel will appear on the right-hand side of your screen with a detailed list of all the stops and orders on your selected route.
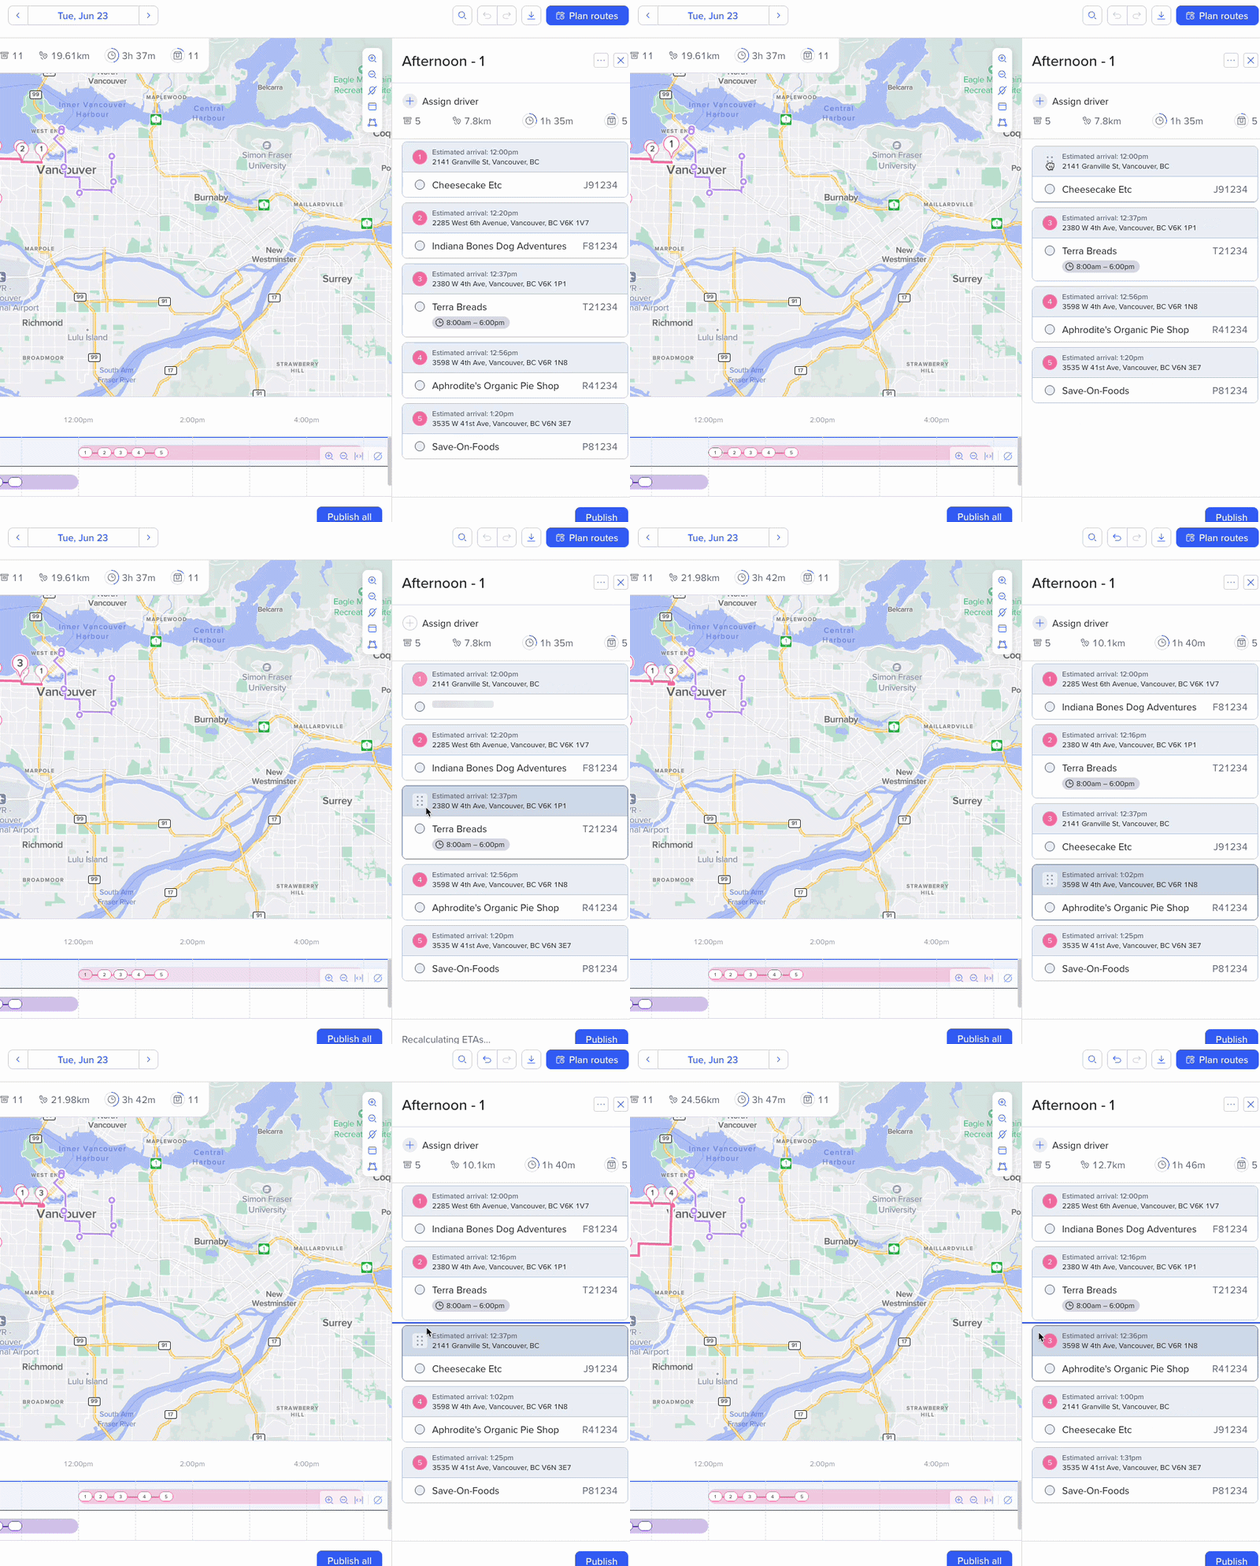
To move a stop in the route details panel, click the order, then drag-and-drop the order up or down the panel to your new preferred position. Routific will adjust the timing of your route and update the driver's mobile app.
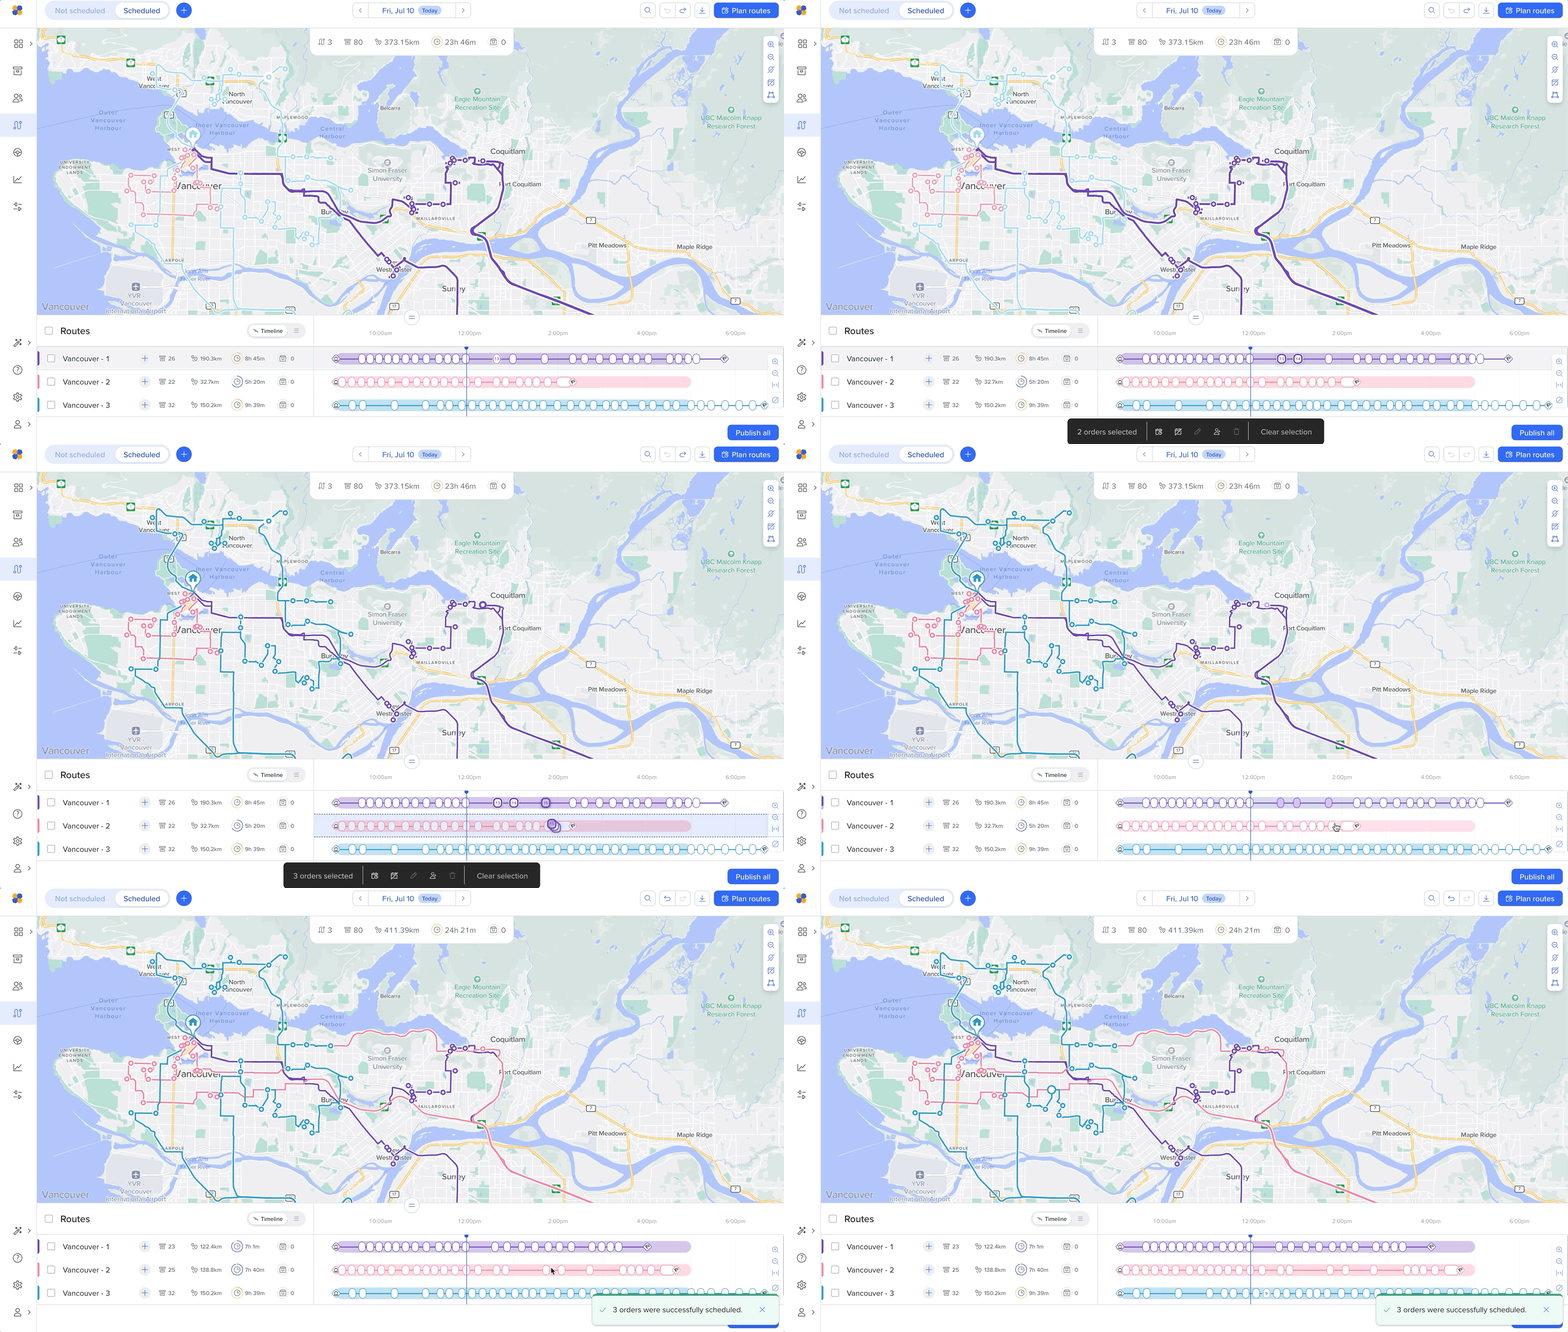
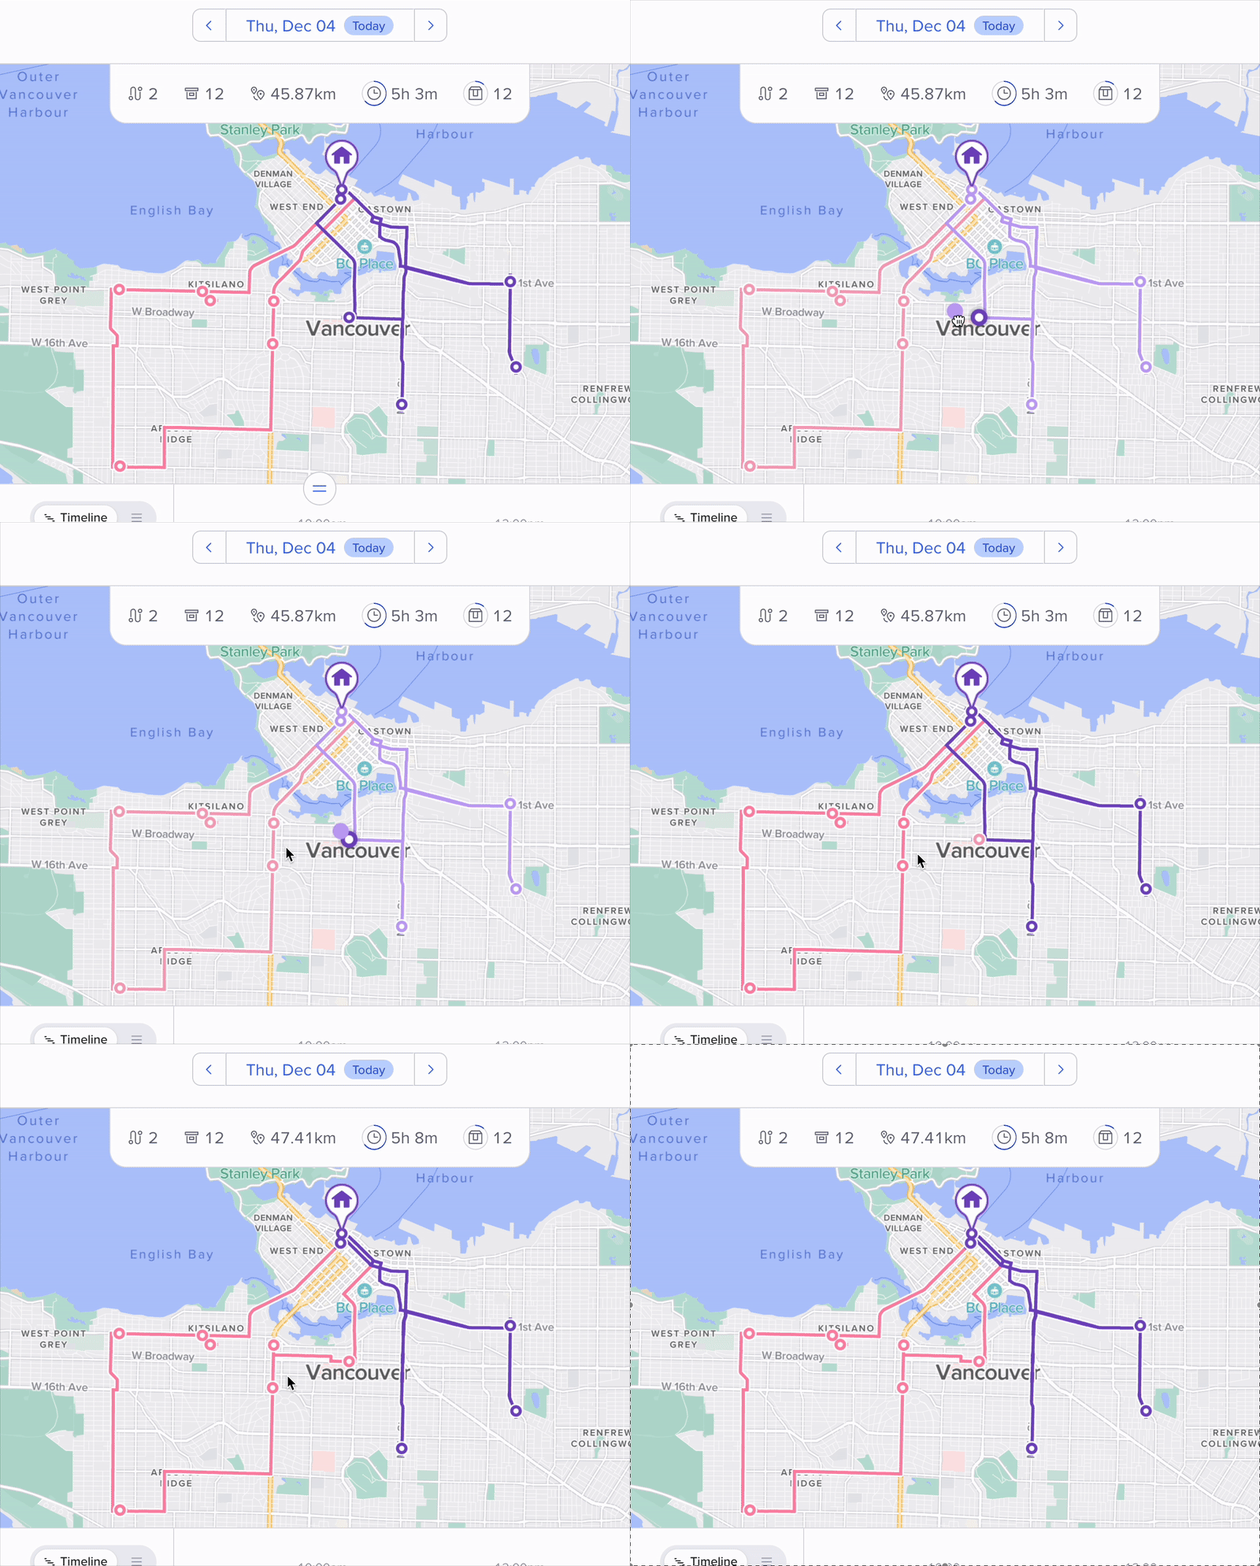
You can drag-and-drop to move stops from one route to another on the map.
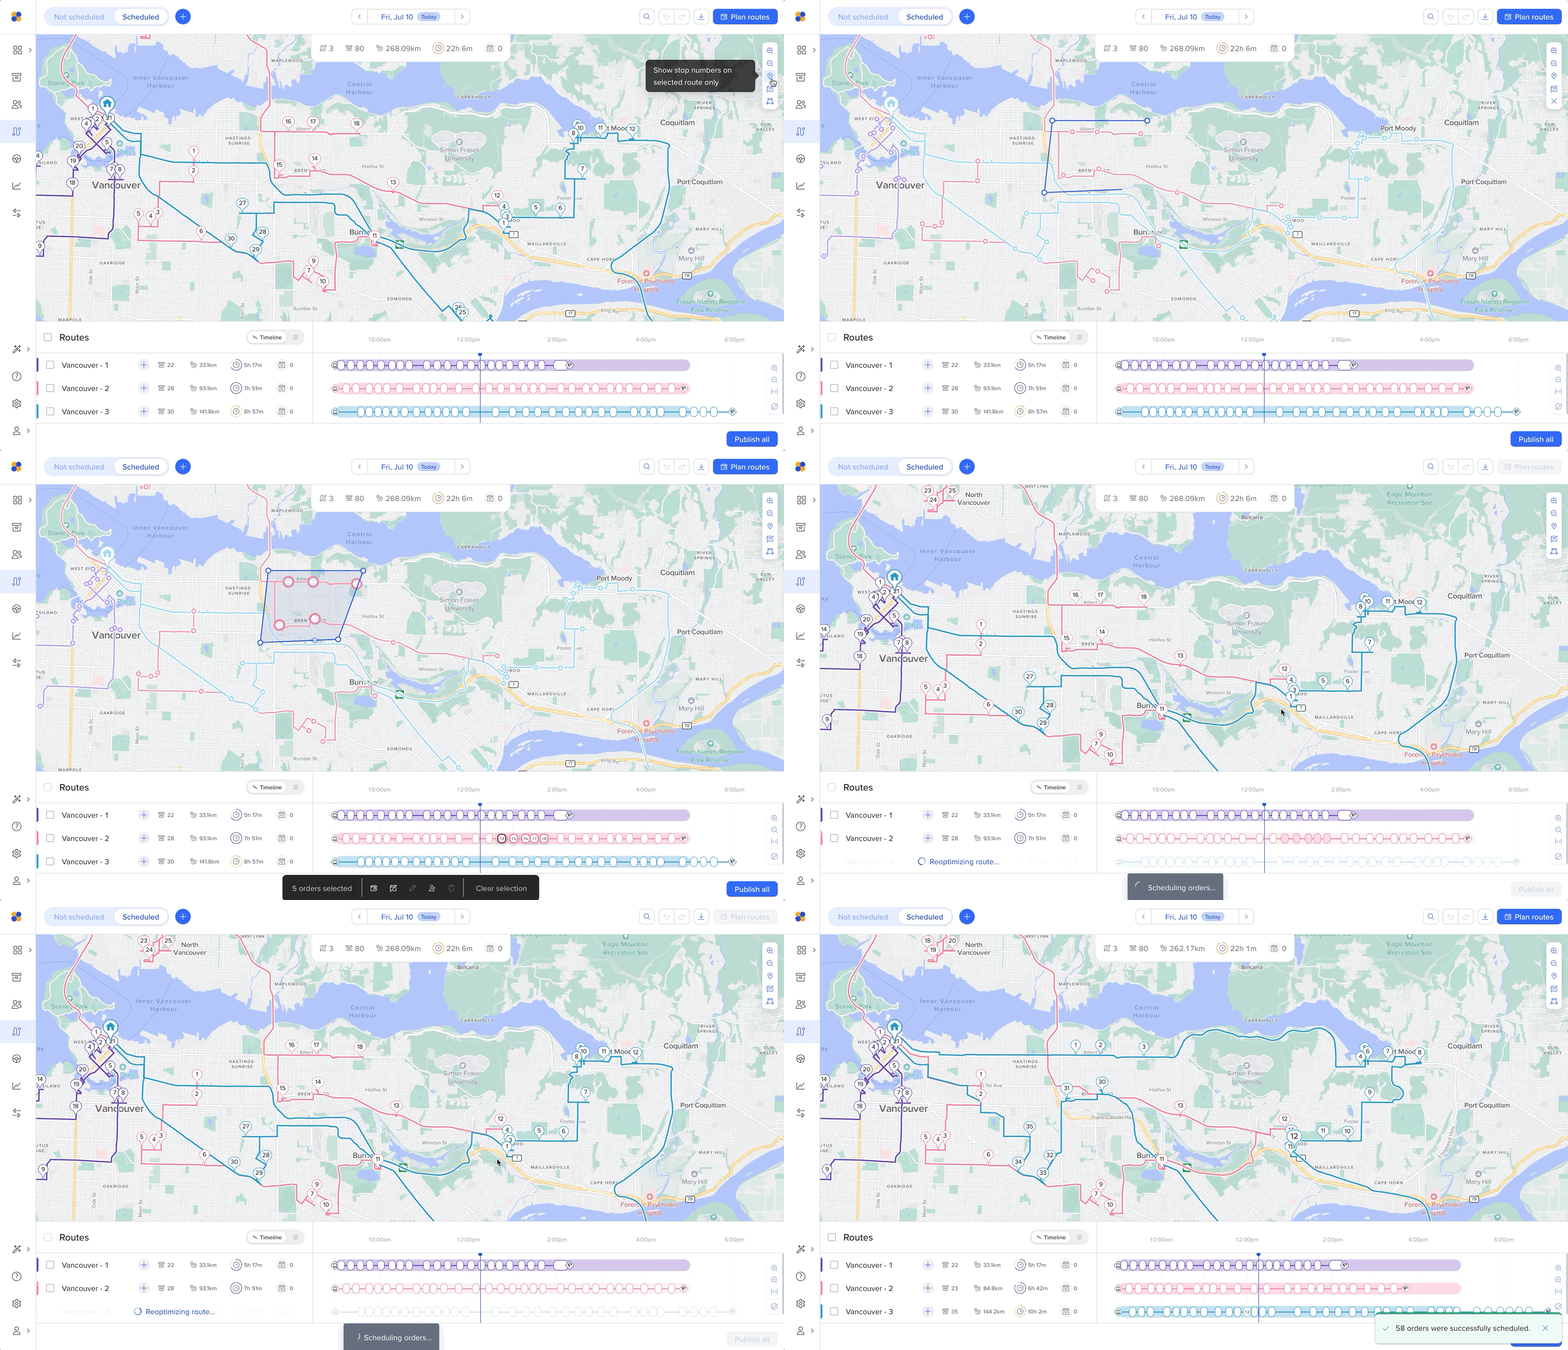
To select multiple stops and move them as a group, use the lasso tool at the top right-hand corner of your map view. The lasso tool is a feature that allows users to select multiple objects by drawing a freehand shape around them.
Here’s how you can change the flow of your route by manually drawing on Routific’s map.
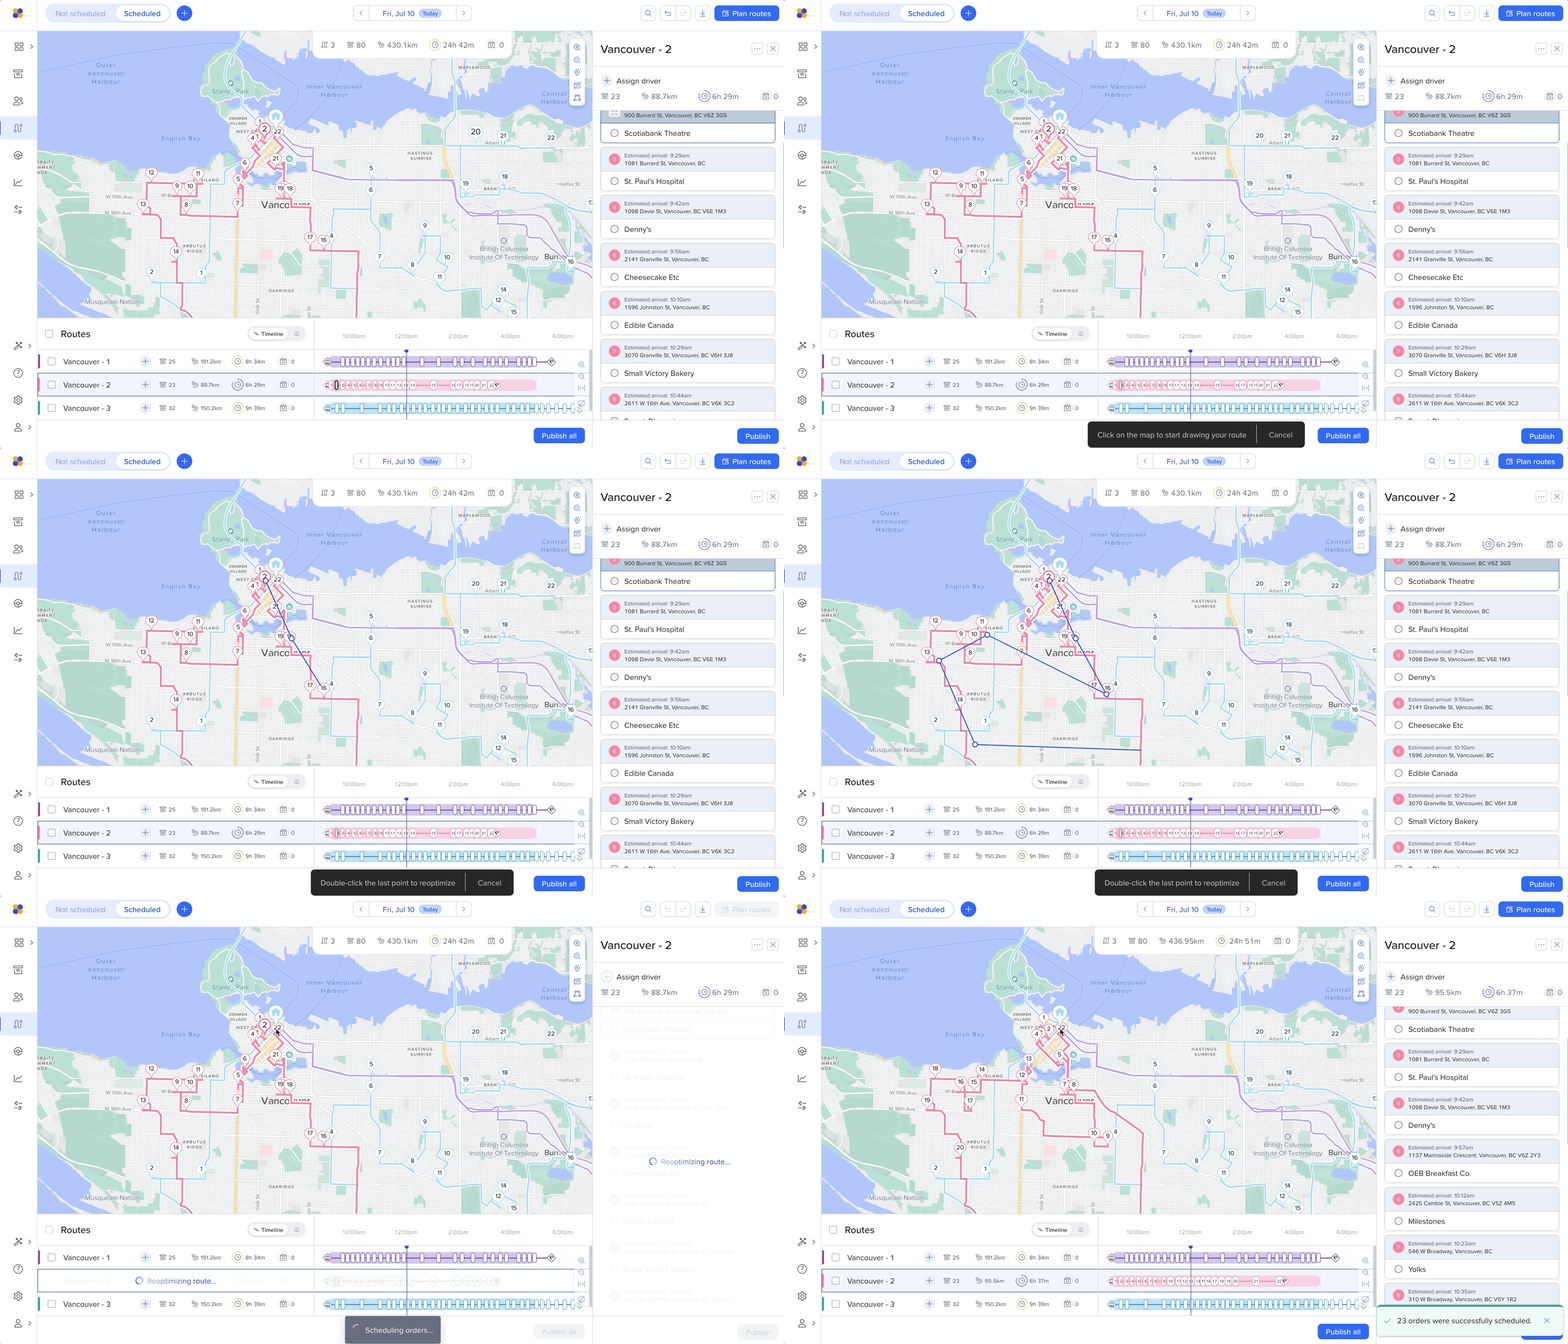
Select the route you want to adjust, either on the map or the timeline
Click the 3 dots icon (…) in the top right corner of the route panel.
Click Draw route.
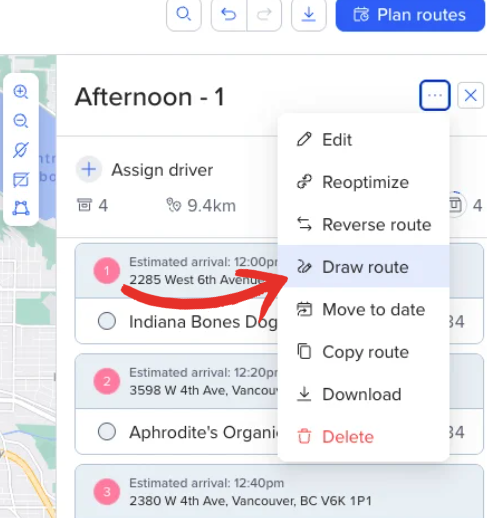
Navigate to your map.
Click on the map to start your drawing; this is where your route will be directed to start.
Draw lines in the direction you want the route to follow. Click to change direction.
Double-click to confirm the drawing.
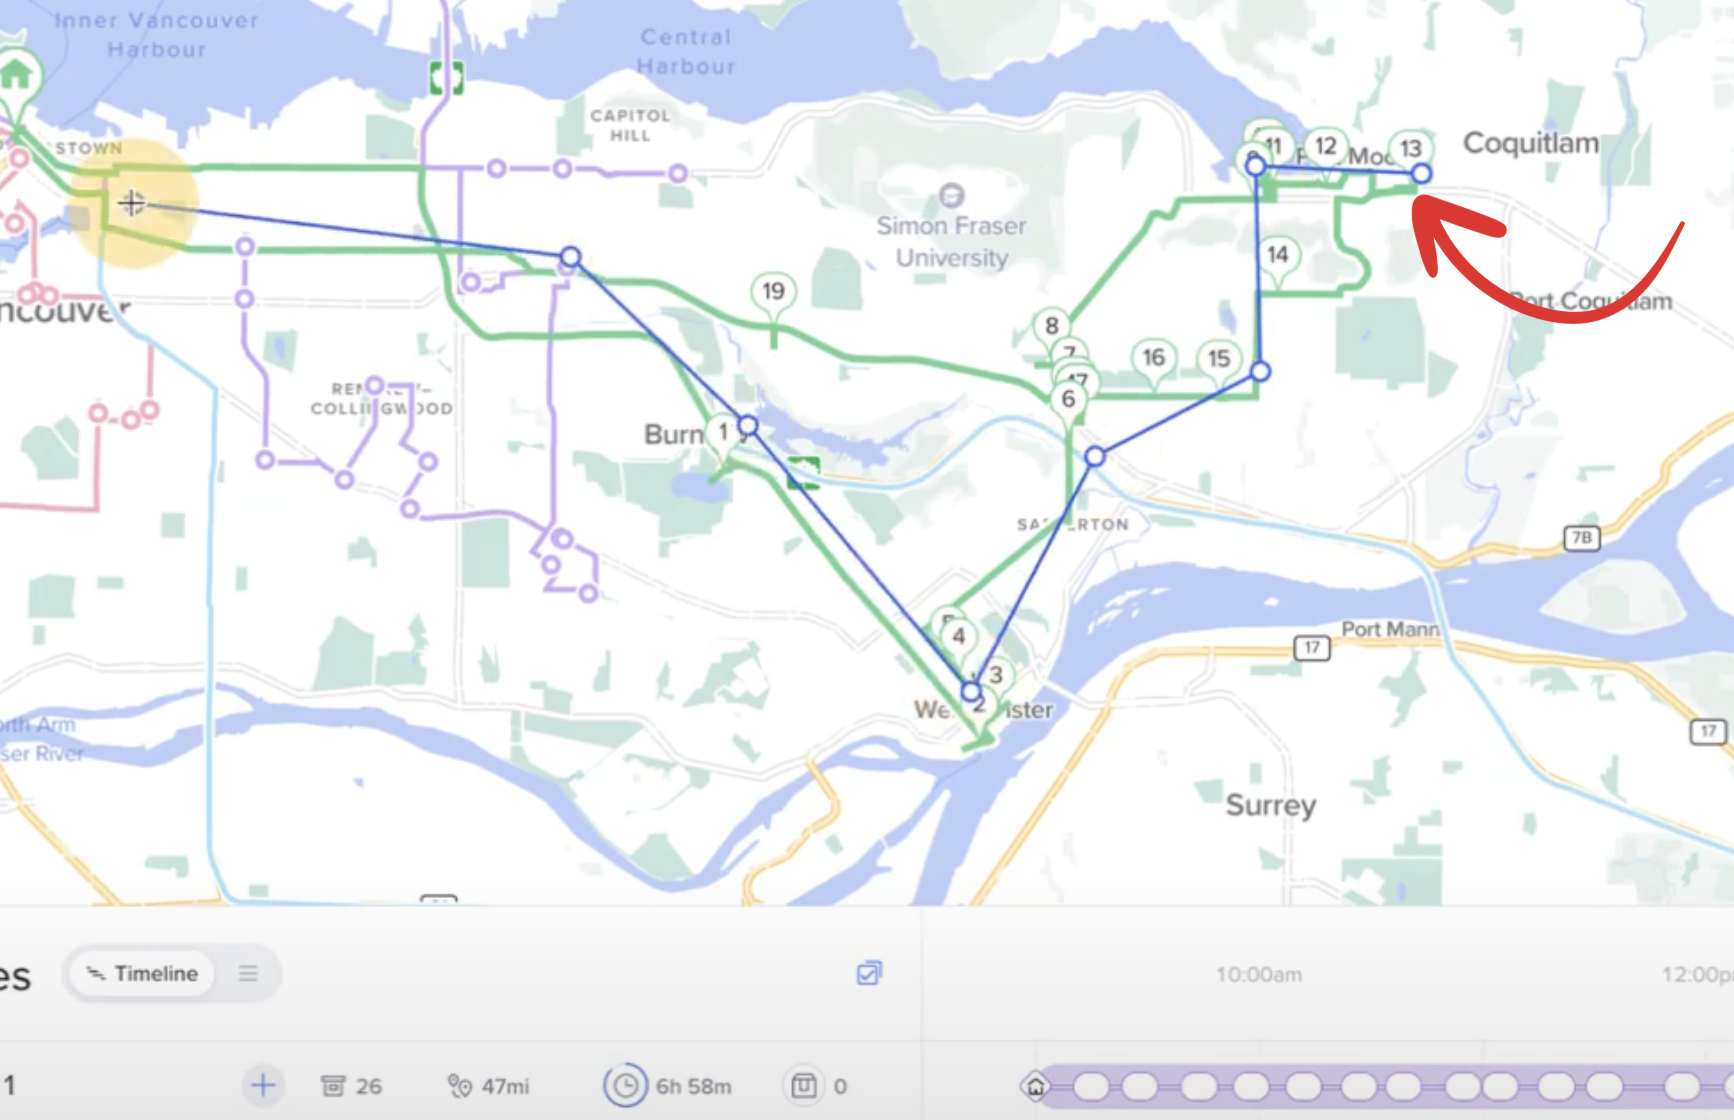
After the double click, your route will be re-optimized in the direction of your drawing: