You can use tags to ensure certain orders will be assigned to certain routes. Common use cases include:
You have customers who prefer to be served by a particular delivery driver.
You have drivers who have specific skills for certain jobs.
You want to assign certain orders to routes in particular areas of a city (eg. North, South, East, West)
You have vehicles that can only be assigned certain orders because of height, weight, or equipment.
Order has no tags → can be scheduled to any route, with or without tags
Route has no tags → can only accept orders with no tags
Order has tags → can only be scheduled to a route that has at least one matching tag
Order has multiple tags → at least one tag needs to match the route's tags
Click the blue plus button in the top-left corner, and select Add route.
Add your route details, as well as any tags you like. If you have already added tags, you will see a dropdown menu of tags to chose from.
If you are creating a new tag, type in what you would like it to be called, then click +Add.
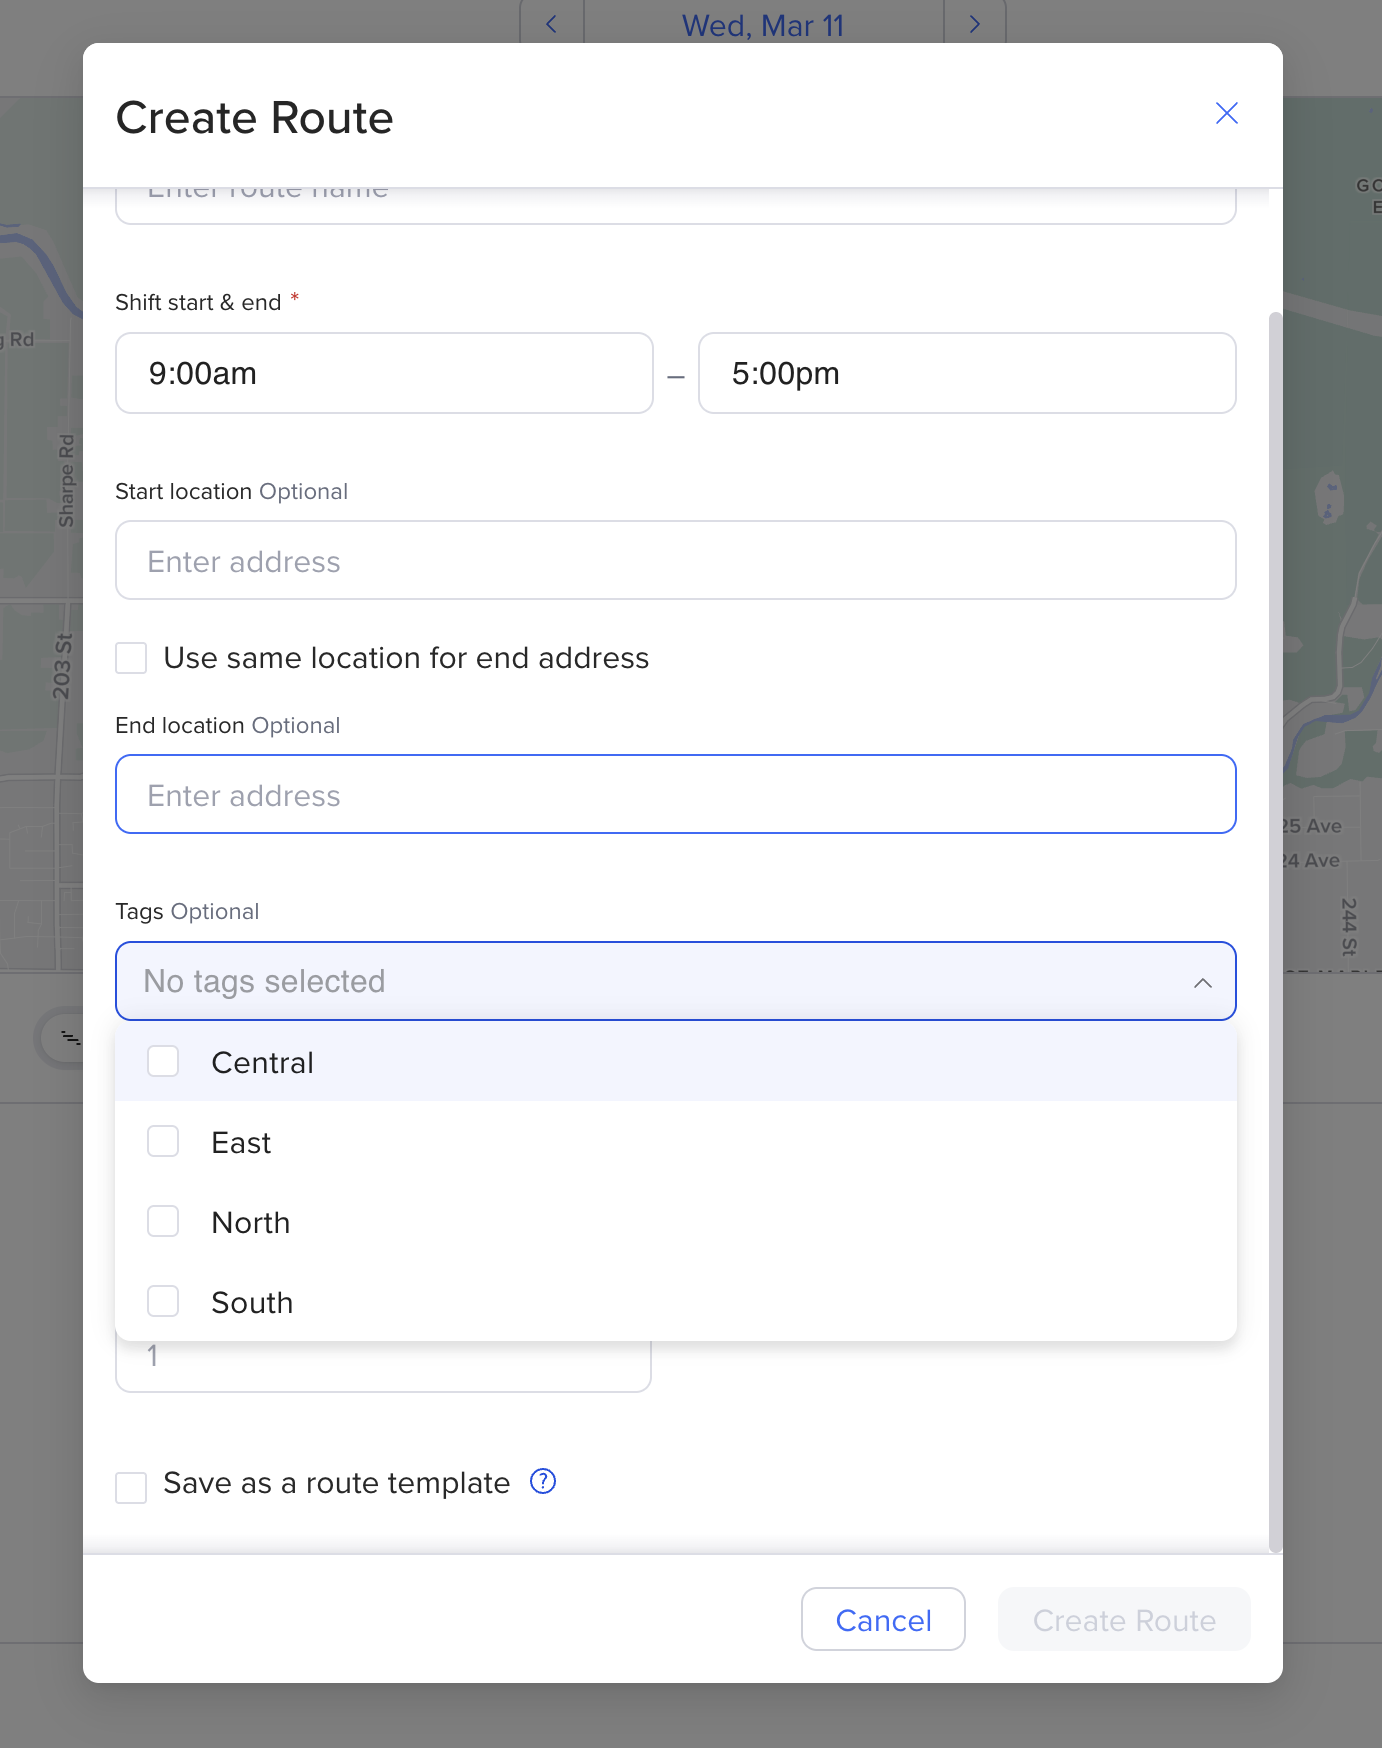
You can add multiple tags to one route if needed.
Click on the Settings button, and navigate to Templates in the left-hand panel. Hover over your existing templates, to reveal the pencil icon edit button on the right-hand side. Click the pencil icon to edit the existing template and add tags in the template details.
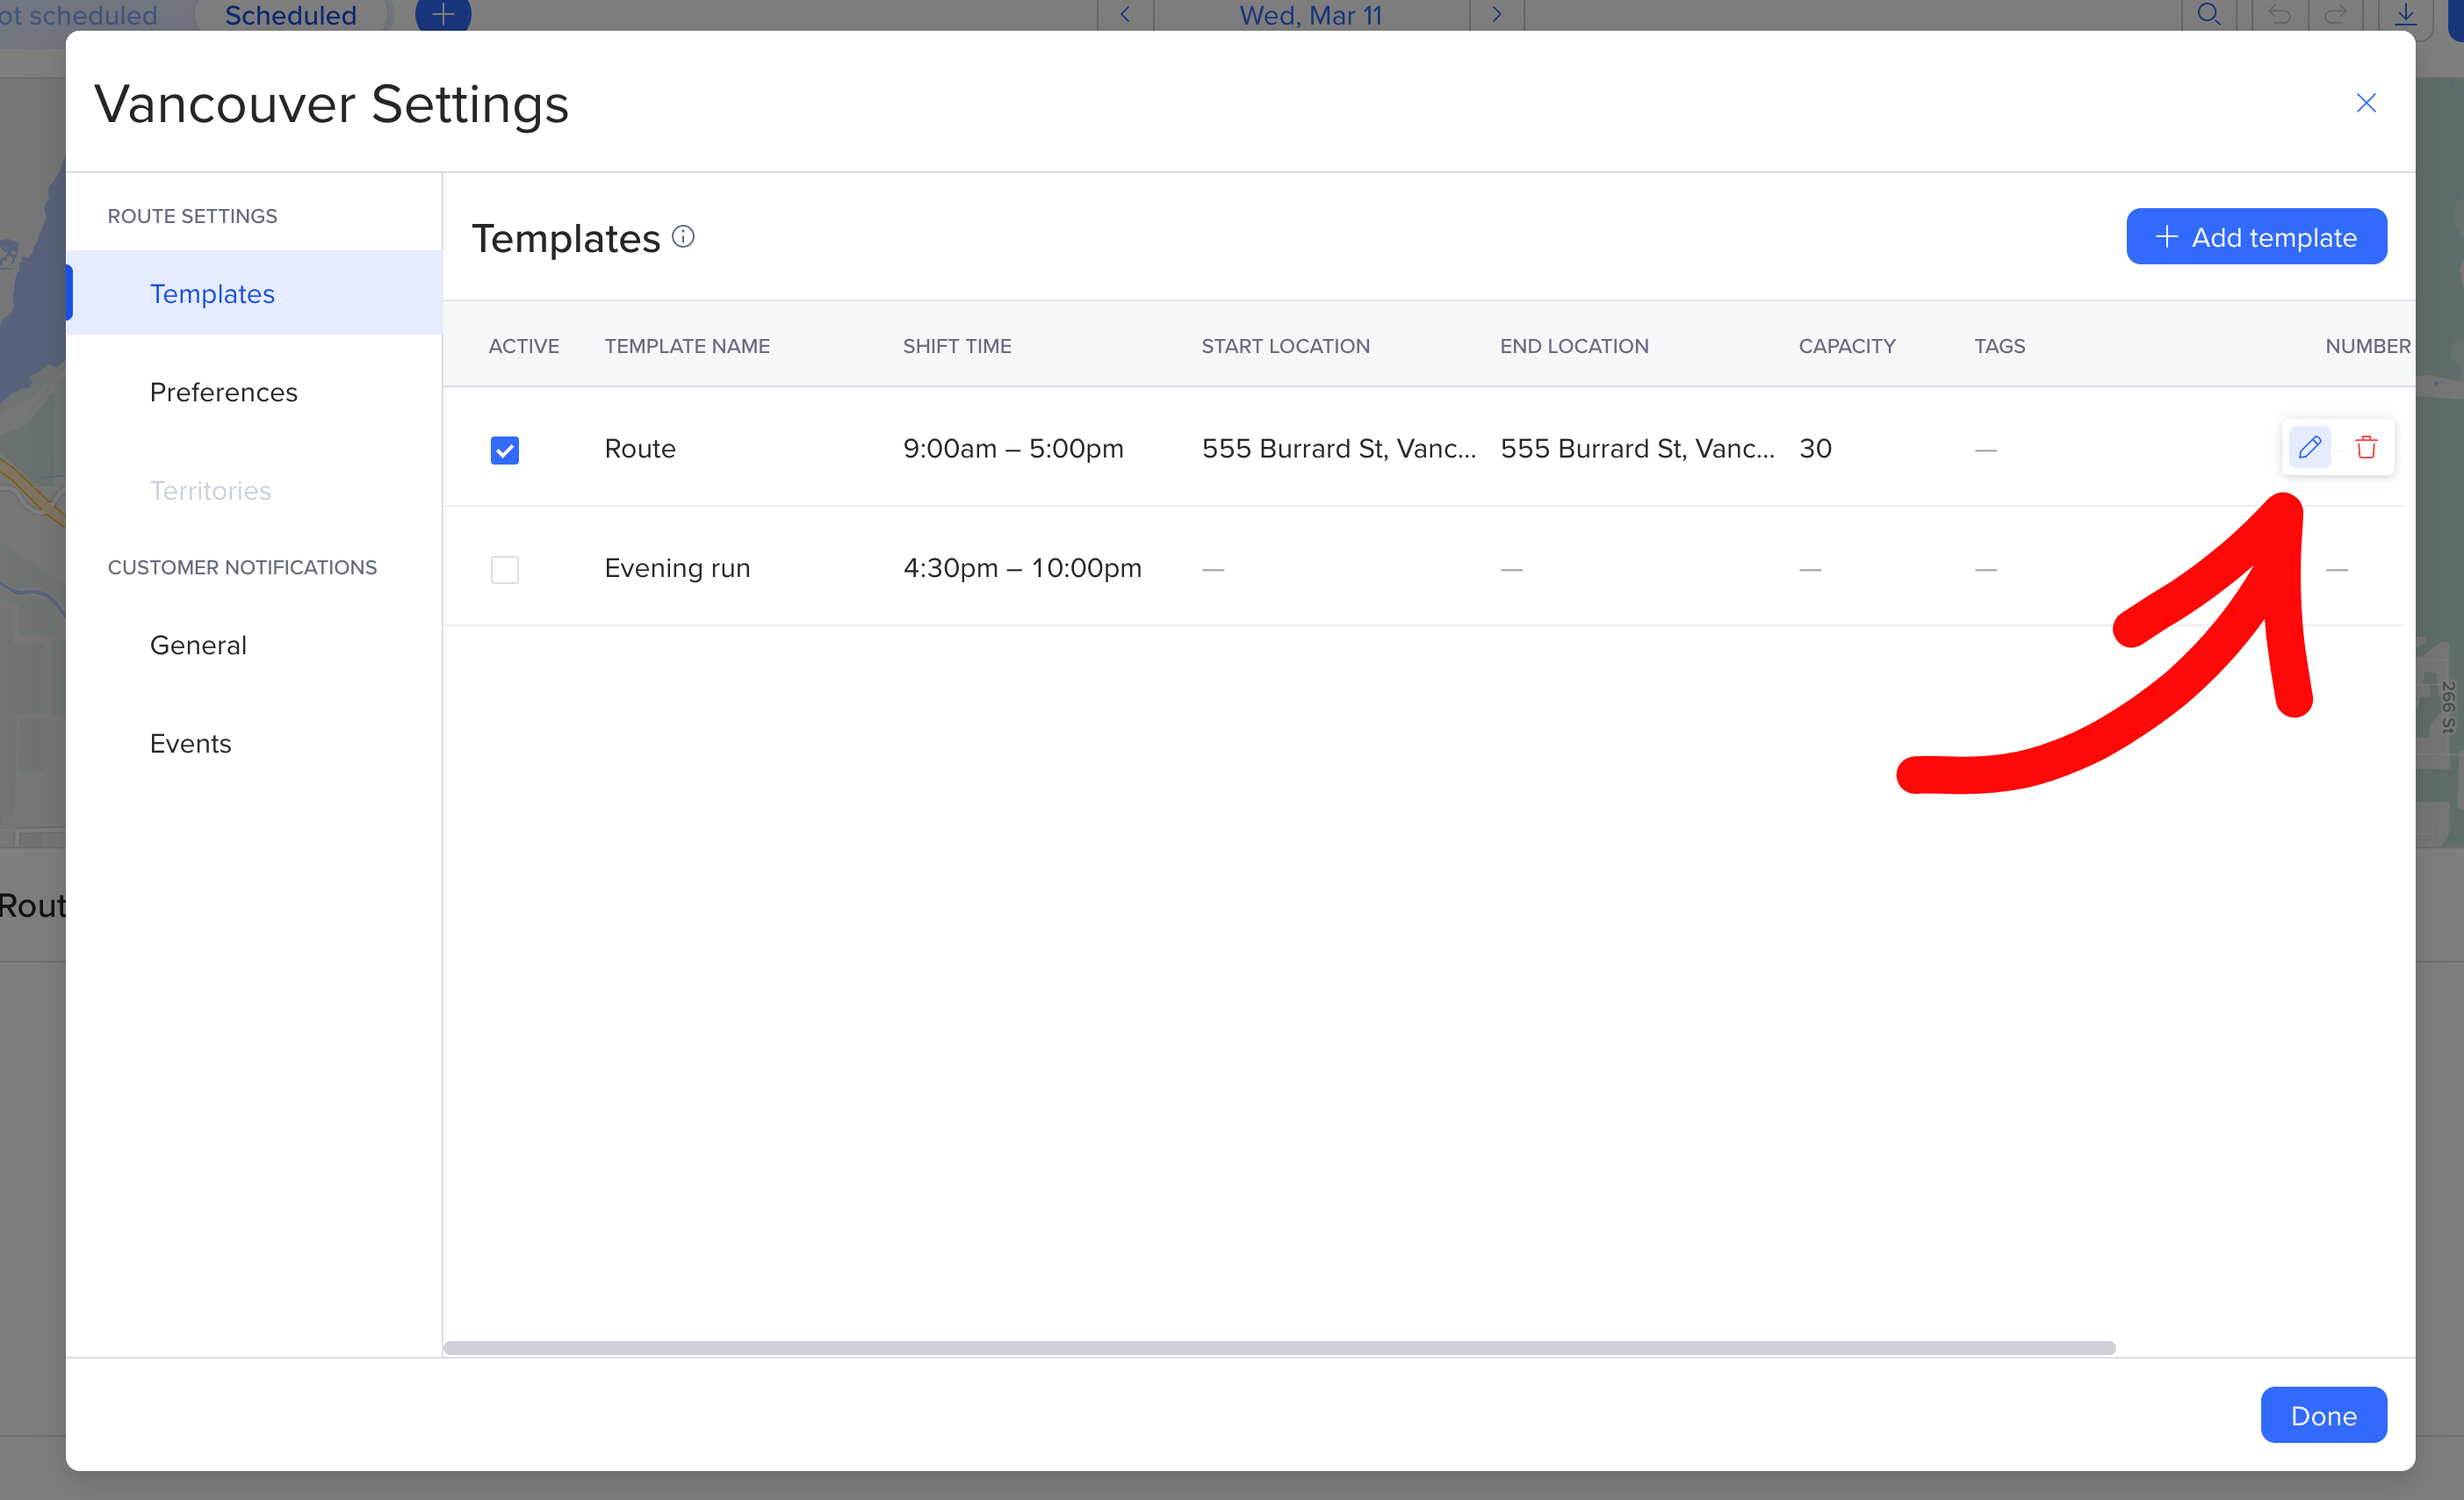
If you have already added tags, you will see a dropdown menu of tags to chose from. If you are creating a new tag, type in what you would like it to be called, then click +Add.

In your order spreadsheet, add a column called “Tags”. Add the tags to each order that is needed.
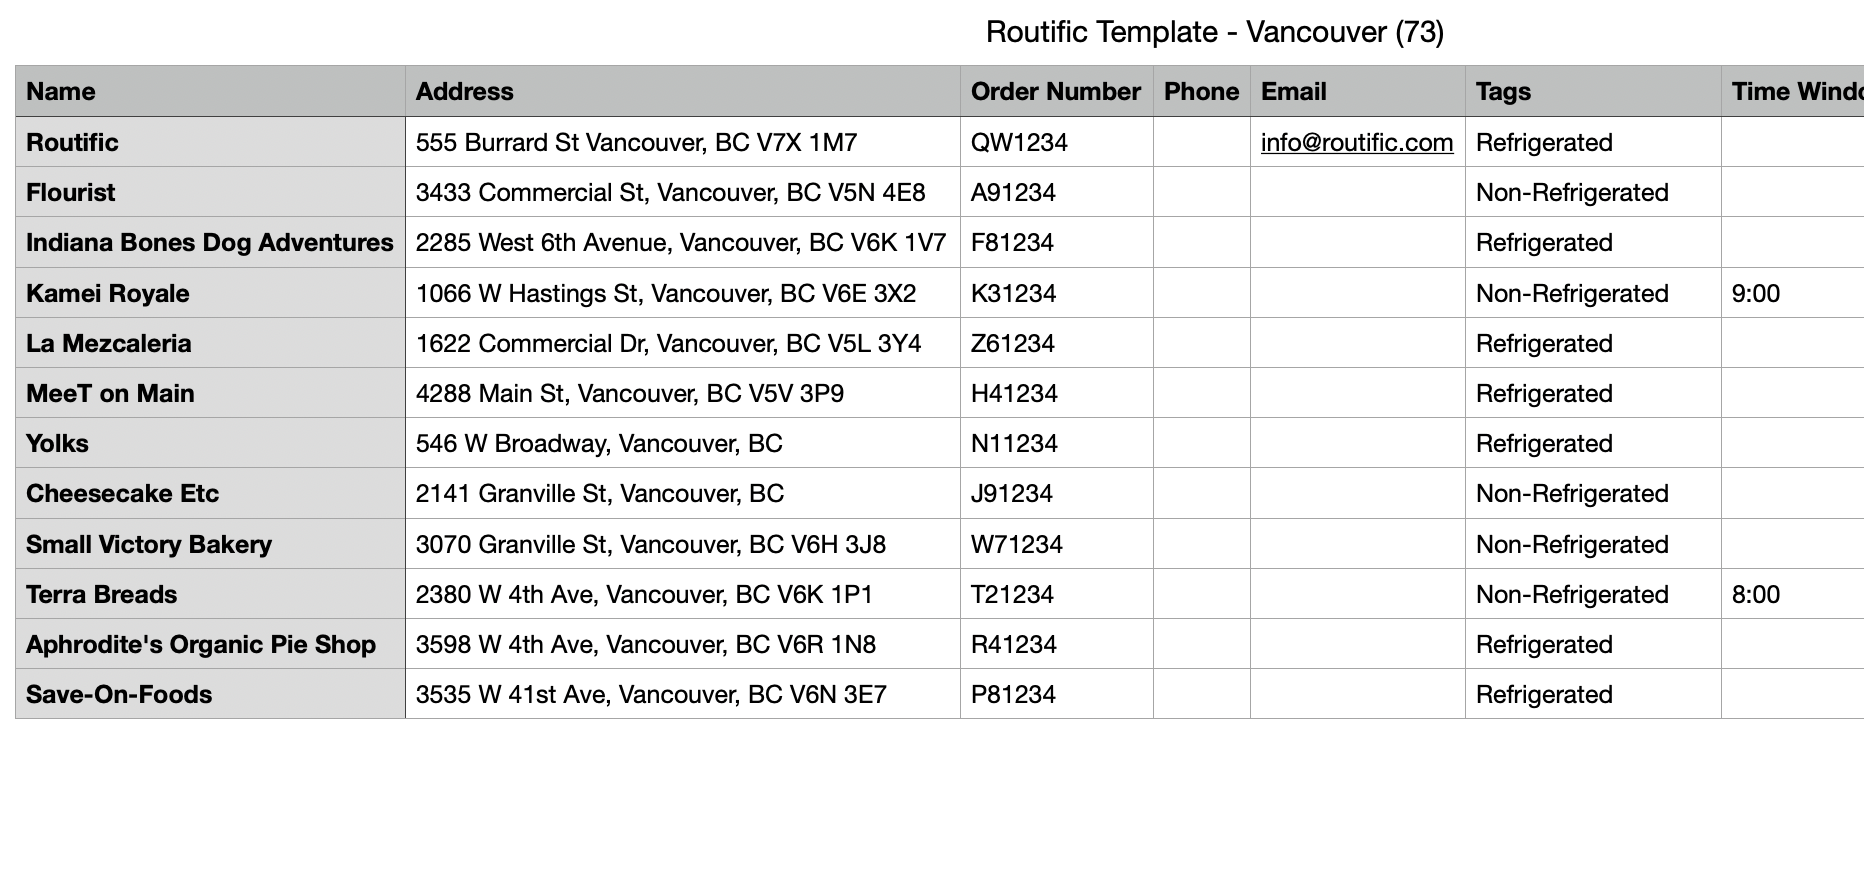
Then, upload your orders just as you would normally.
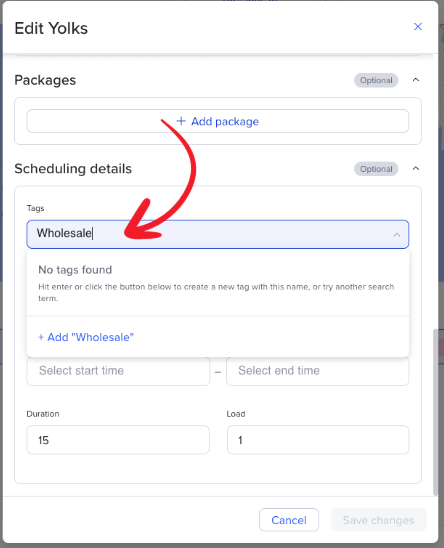
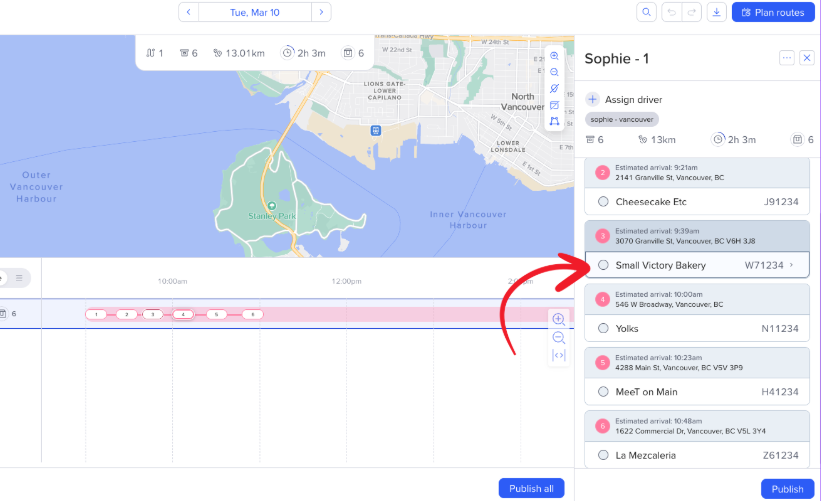
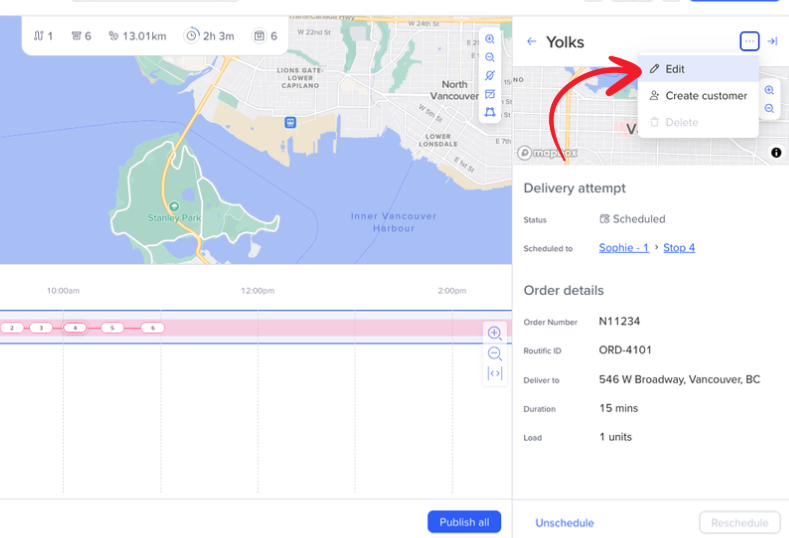
Click on the route either in the timeline or map. This will open the right hand side route panel. Click on the order that you would like to edit.
Click the three dots icon (…) in the top right corner and then click Edit
Scroll to the tags section of the order details. If you have already added tags, you will see a dropdown menu of tags to chose from.
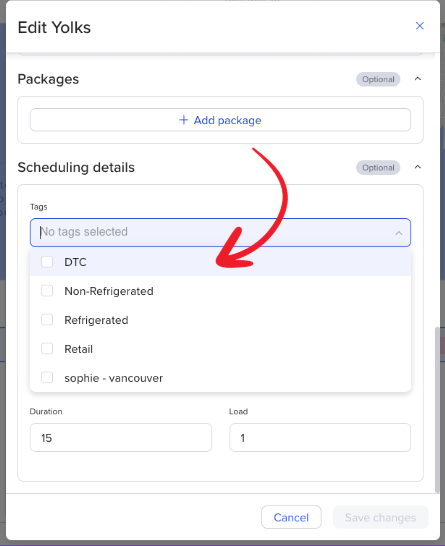
If you are creating a new tag, type in what you would like it to be called, then click +Add.